This is gonna be a long series that I’m really looking forward to getting out there. This was a project that took a couple years and many many hours just to see if there was a remote chance of it working. This was a brand new experience for me all around and I’m excited to share.
Things to to look forward to in this series:
- Custom Automotive Wiring
- Custom 12V system electronics
- CAN Bus Hacking
- Fabrication
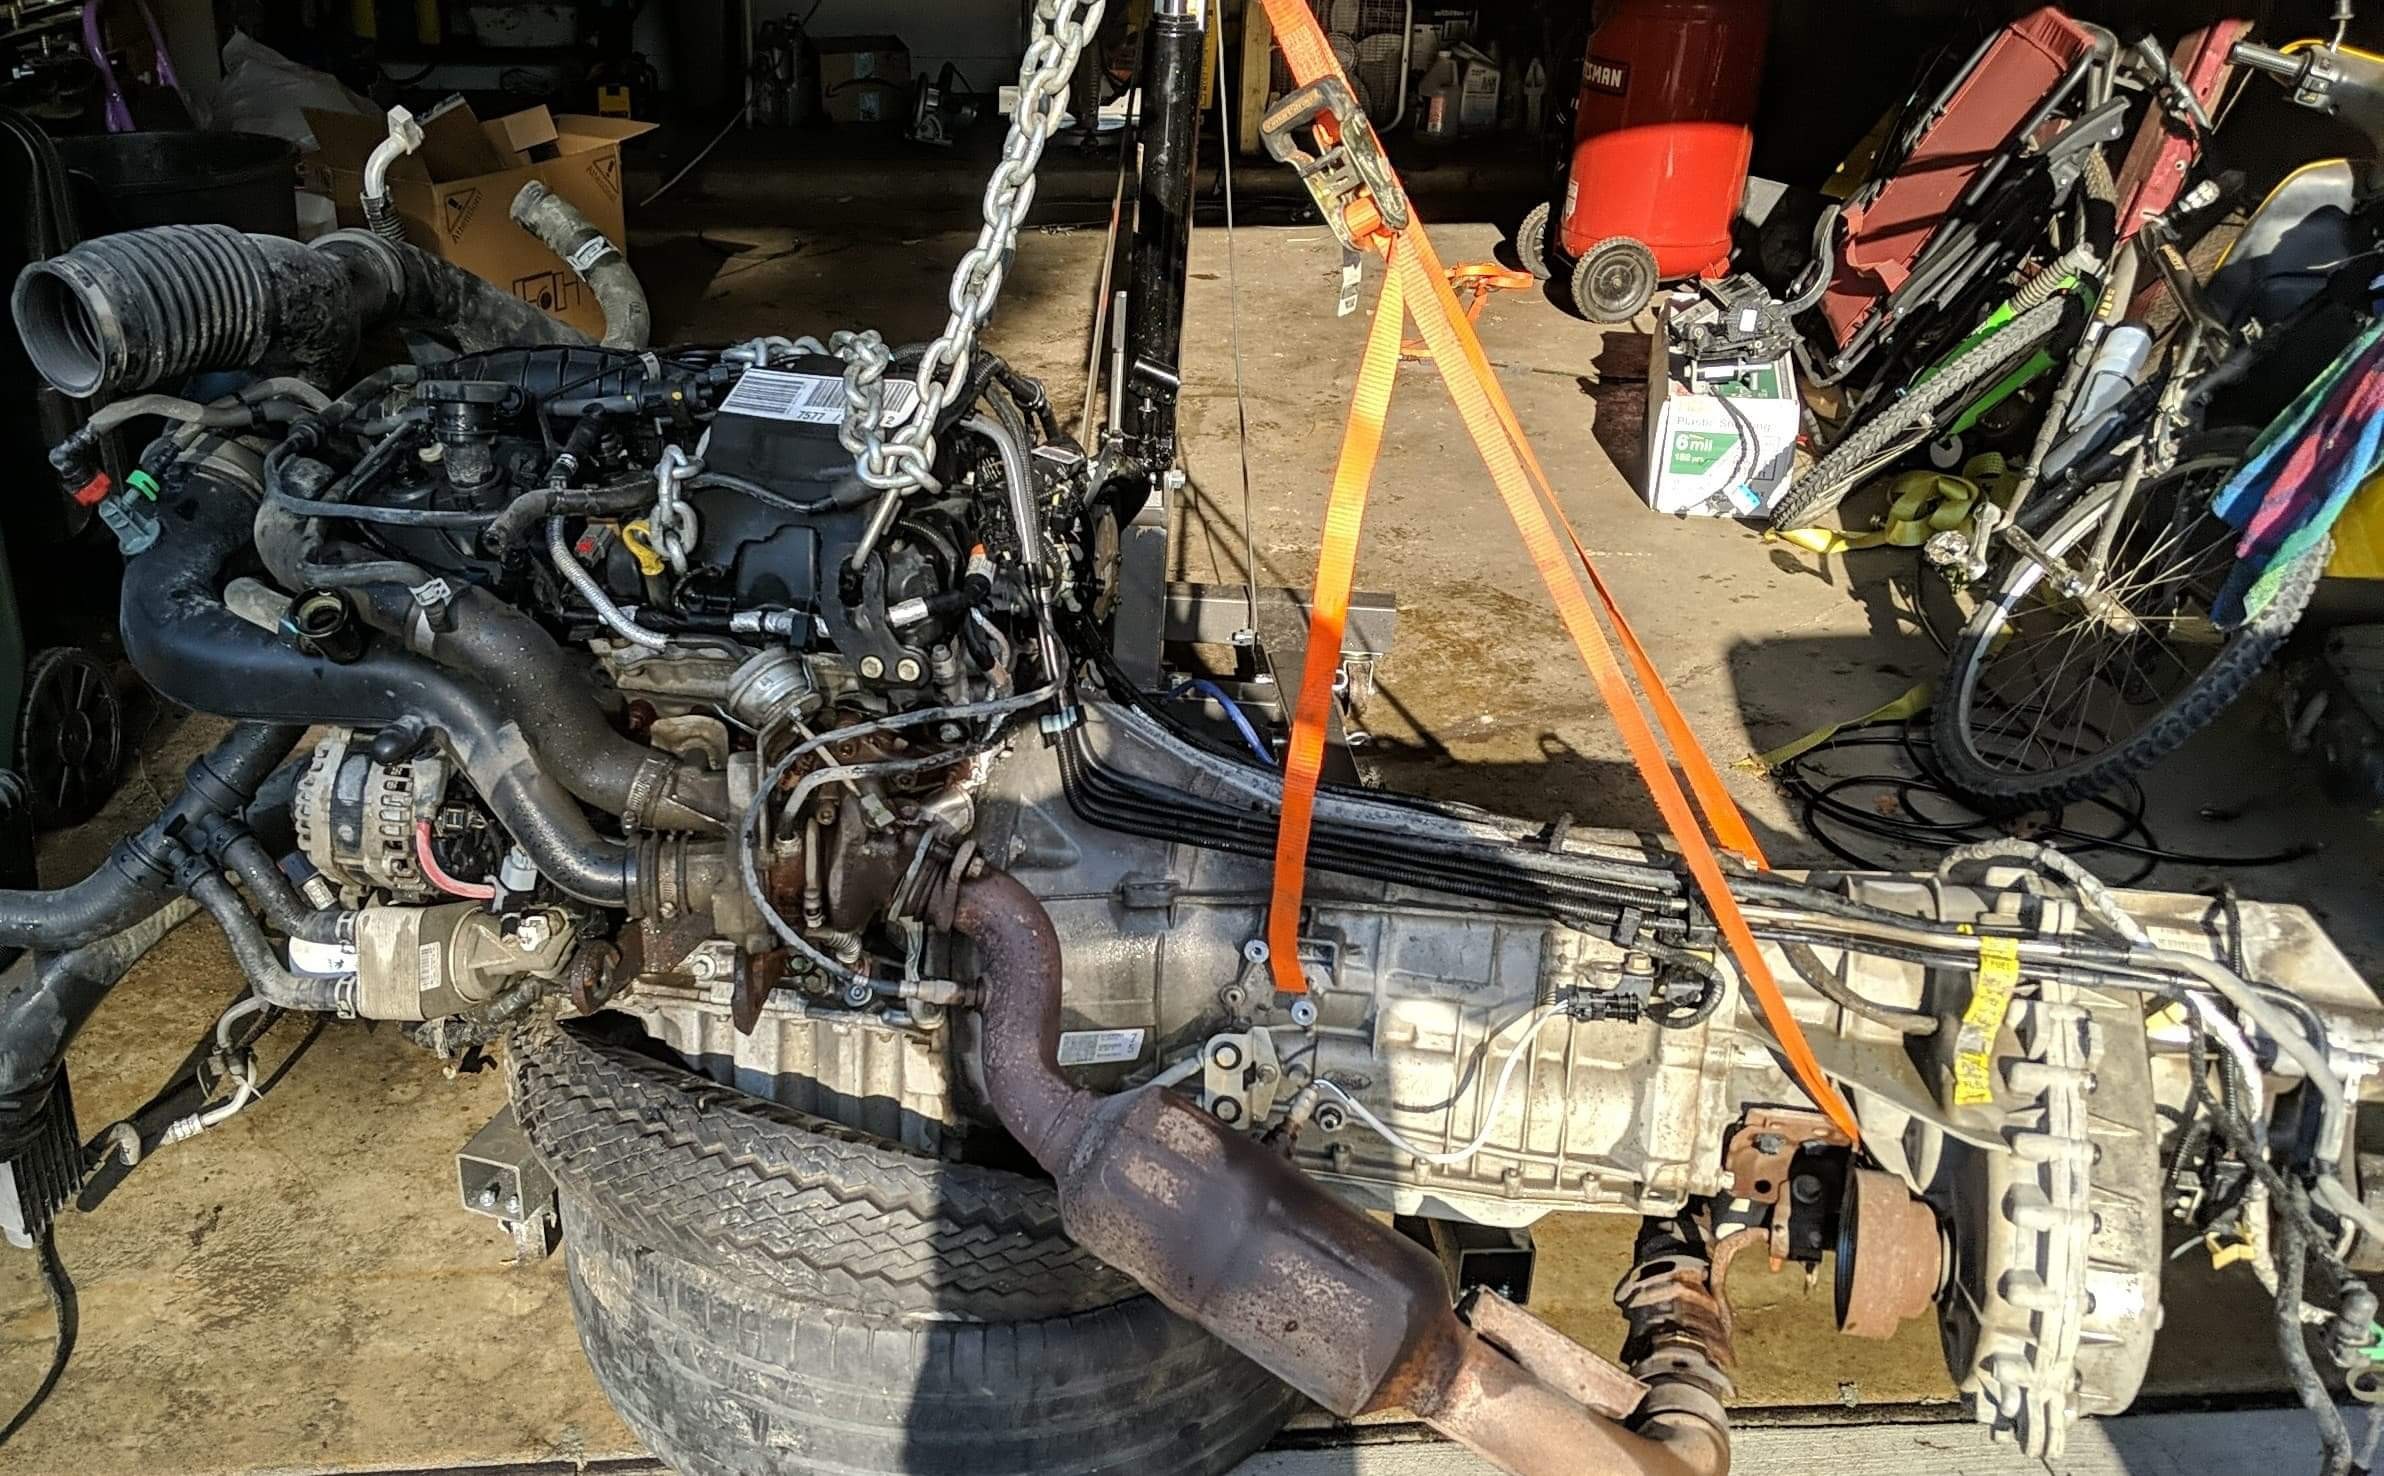
Welp, guess I should start sharing this. My E4OD is on it’s way out, so I guess it’s time to swap in a 3.5 ecoboost (cause that makes sense right?)
I’ve been researching this for a while and figured go big or go home on my very first engine swap.
I should preface this with I’m trying to do this as budget friendly as possible, which means retaining/reusing as many stock parts as I possibly can.
Found a good deal on from a guy parting out a 2015 navigator and managed to snag a bunch of parts.

List of parts I got:
- 3.5 Ecoboost w/ turbos and intake tubing
- 6R80
- Exhaust
- T Case (don’t plan on using it)
- Engine wiring harness
- Engine bay wiring harness (reached through firewall in a few places)
- Computer
- Throttle pedal
- Radiator
- Intercooler
- AC Condenser (Misses said AC was must on road trips)
- Transmission cooler
- I’m sure I might be missing something
I didn’t want to start tearing apart my bronco until I knew this had a shot, so first thing’s first was to get the engine to cooperate the best I can sitting on some old tires.
I started by cutting down the navigator engine bay harness, removing all the extra lighting, sensor, abs, etc. Wasn’t too bad.
Steps I used for cutting down harness:
- Label all the connectors using wiring diagrams from a few sources
- Removing all the covering
- Depin things not needed from the fuse block
- Hack and slash all the excess
- Making sure to keep wire bundles some what organized with reusable zip ties as I go
- Any wire that still connected to ECU I left as long as possible and labeled
- Wired in an OBDII port
All in all wiring harness went from 24 lbs to just shy of 10 lbs.


Next was to make sure the ECU wasn’t going to throw a fit, so I set up the wiring on a folding table near the engine, connected it up and no smoke!
At this point I was also not getting any codes or anything and I was able to watch the throttle move with pedal input so I was feeling pretty good. At this point I wasn’t able to get the engine to crank over but I thought maybe PATS was disabling it. So it was time to get PATS disabled.

I don’t have any good images/videos of the next bit but I got the ECU back w/ PATS deleted, hooked everything back up, and still no cranking…
I spent the better part of a night looking for codes, trying to figure it out only to figure out I didn’t connect one of the relays that told the engine that the key was in the run position.
Once I hooked that up, I bumped the start trigger and after a delay I wasn’t expecting the engine cranked and fired with residual fuel in lines.
Next will be pulling the old running gear and mocking things up! Feel free to let me know your favorite parts or if you’ve done something similar!