1995 Ford Bronco
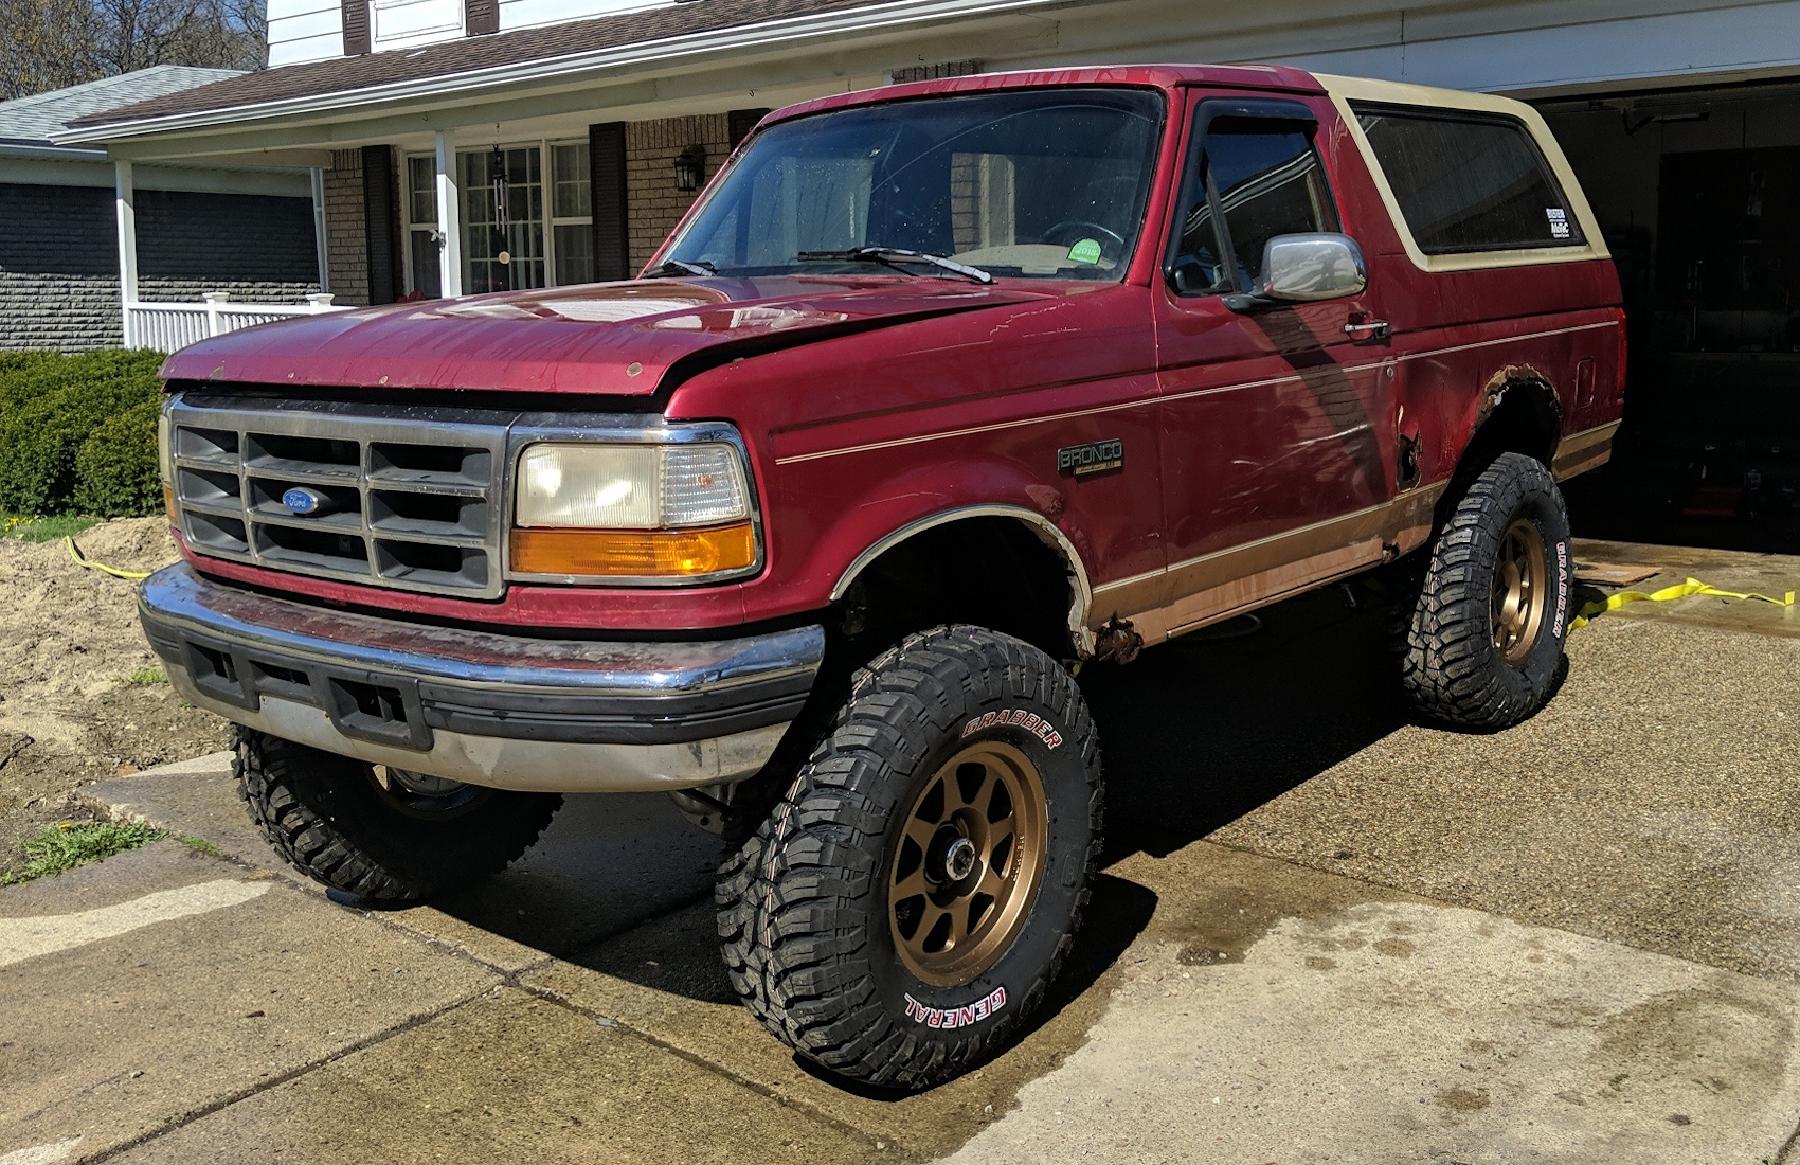
Vehicle: 1995 Ford Bronco Eddie Bauer
Name: Junk Bucket
Current Status: Finishing Engine Swap
Previous Mods:
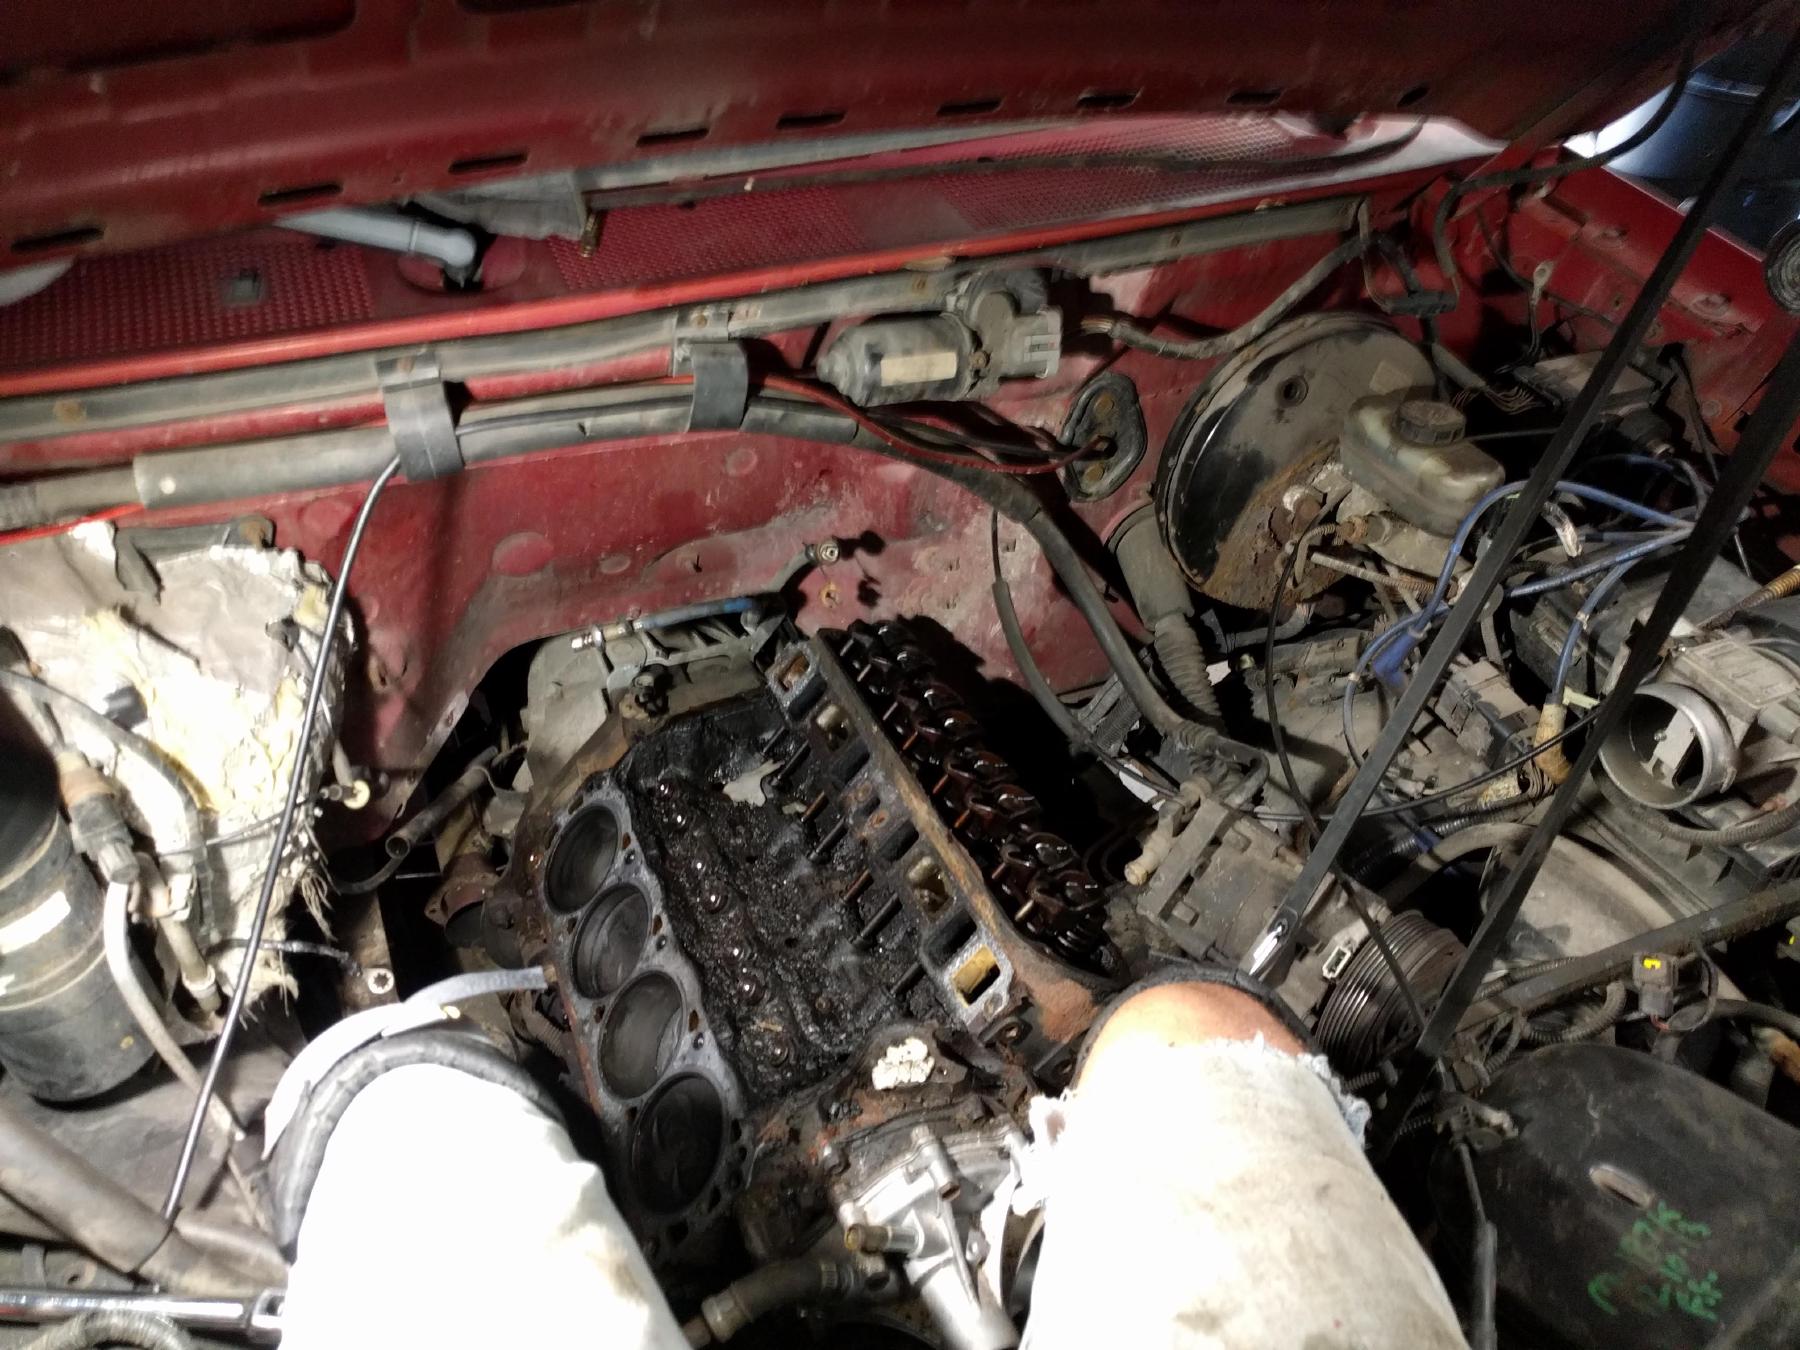
- Aluminum Heads
- Larger 24lb injectors
- Adjustable fuel pressure regulator
- Wide Band O2 sensor
- Ford EEC-IV tuning solution
- Custom tune done by myself
Current Mods:
- 4 inch lift (with cut and turned beams)
- 35 inch tires on 17 inch wheels
- 3.5L Ecoboost Engine Swap (in progress)
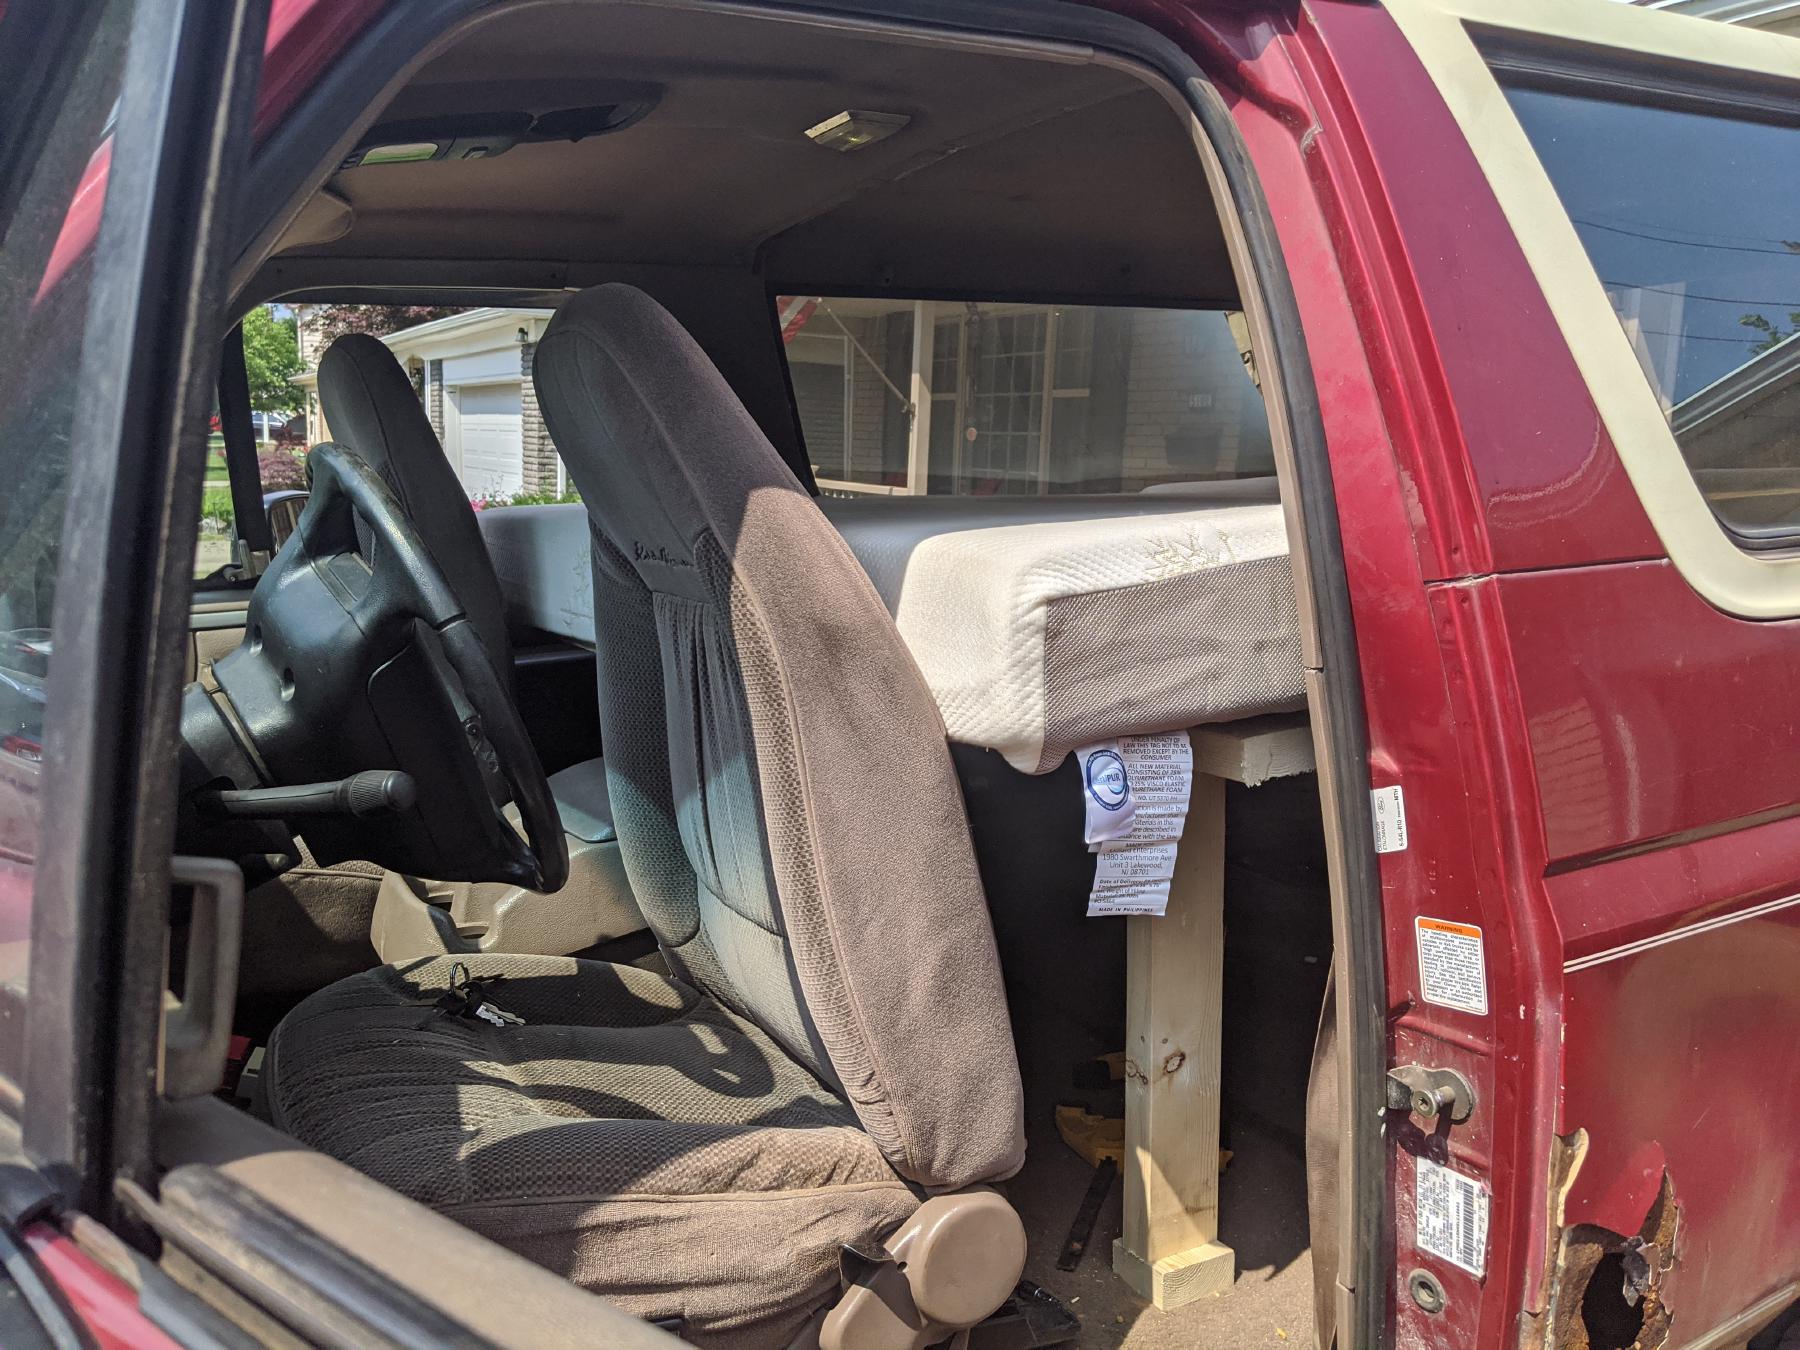
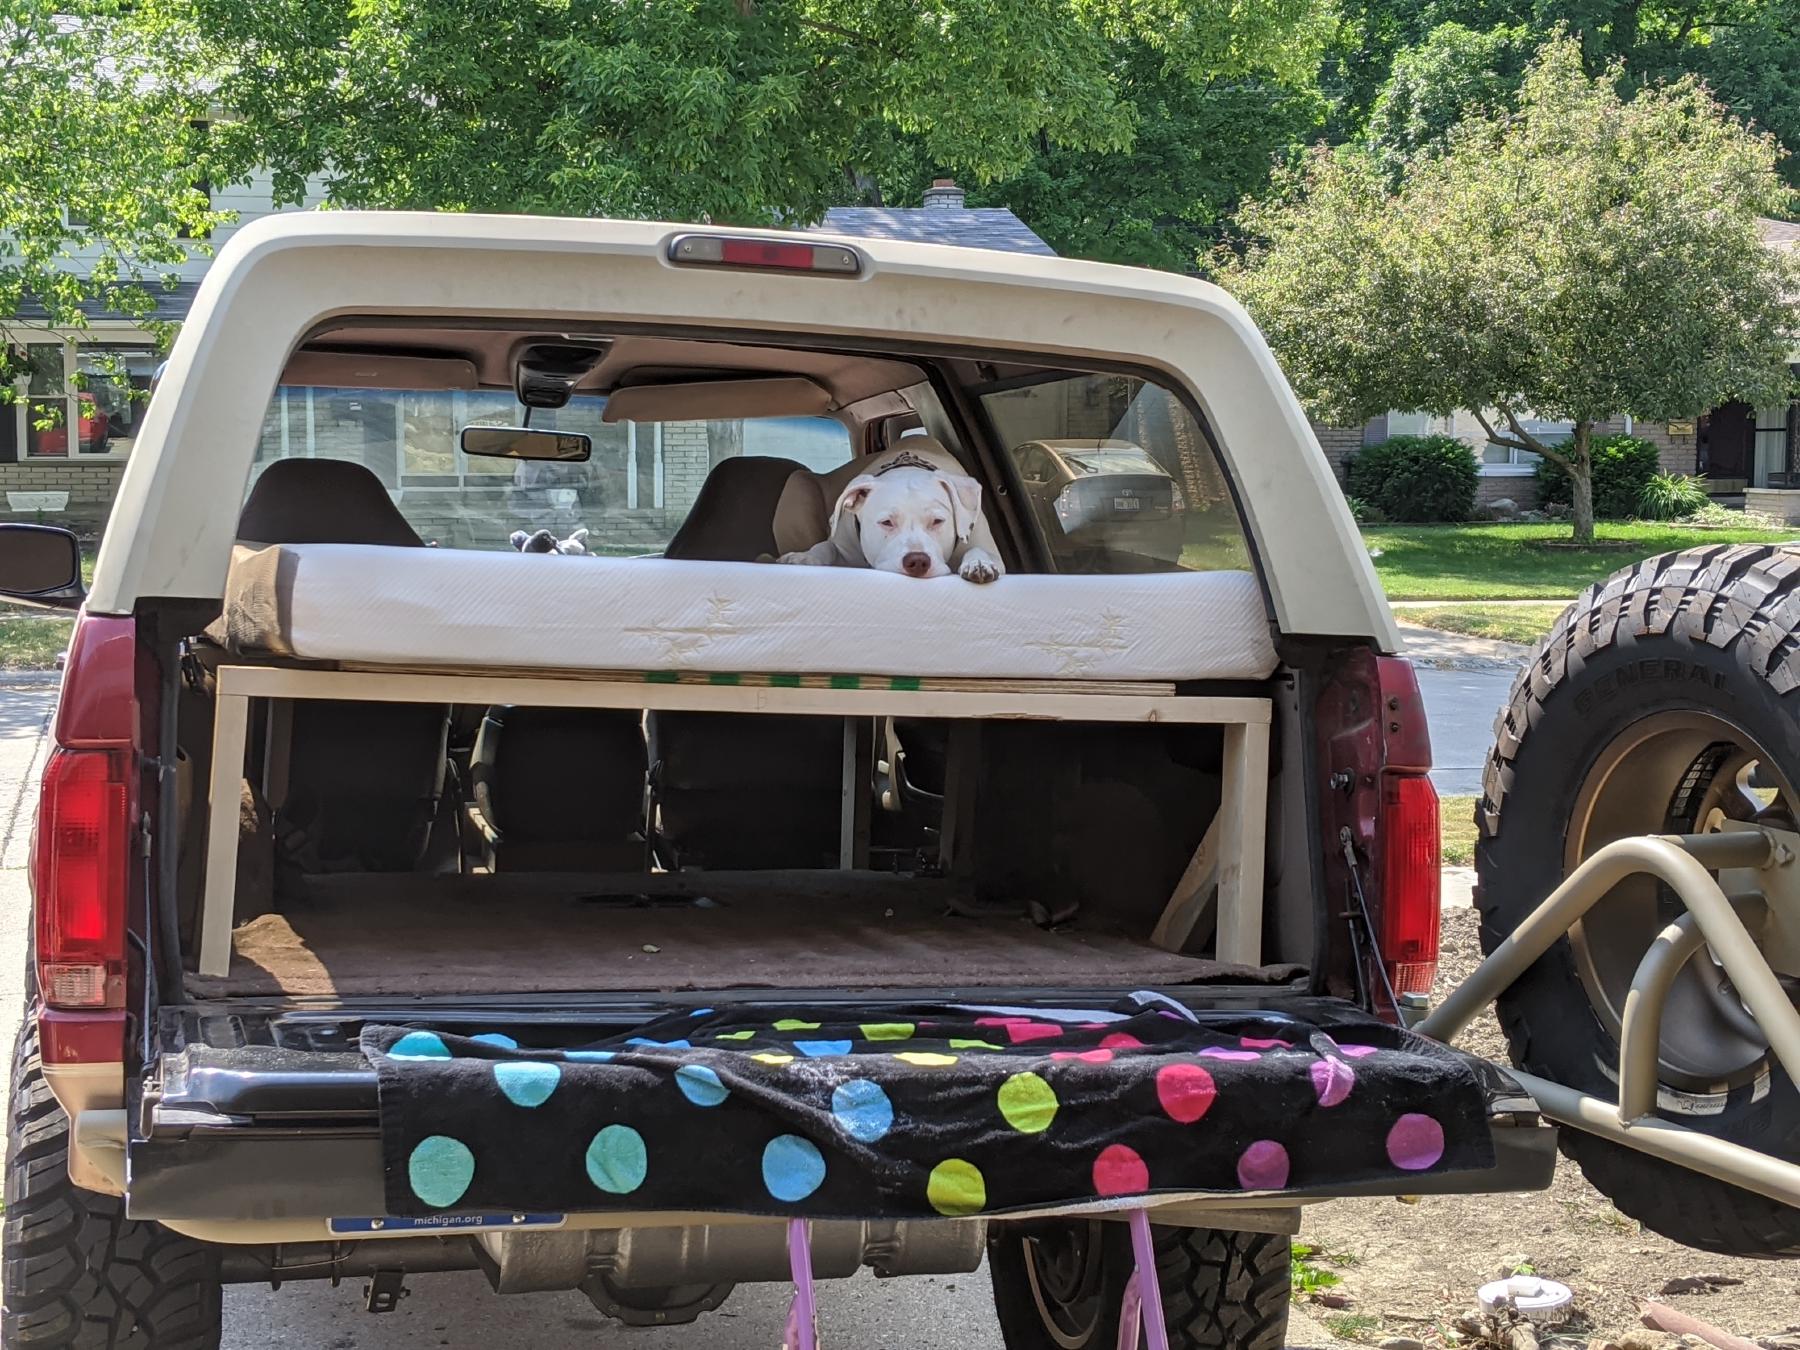
- Custom sleep platform
- Custom rear bumper
Previous work done on the bronco included upgrading the top end of the motor with aluminum heads and larger injectors. I then learned to tune the factory ECU but unfortunately the rest of the vehicle was not OK with those changes. The rear driveshaft slip joint froze up and the extra power pushed the rear pinion too much causing the bearing preload to go out of spec. This is where the project got interesting.
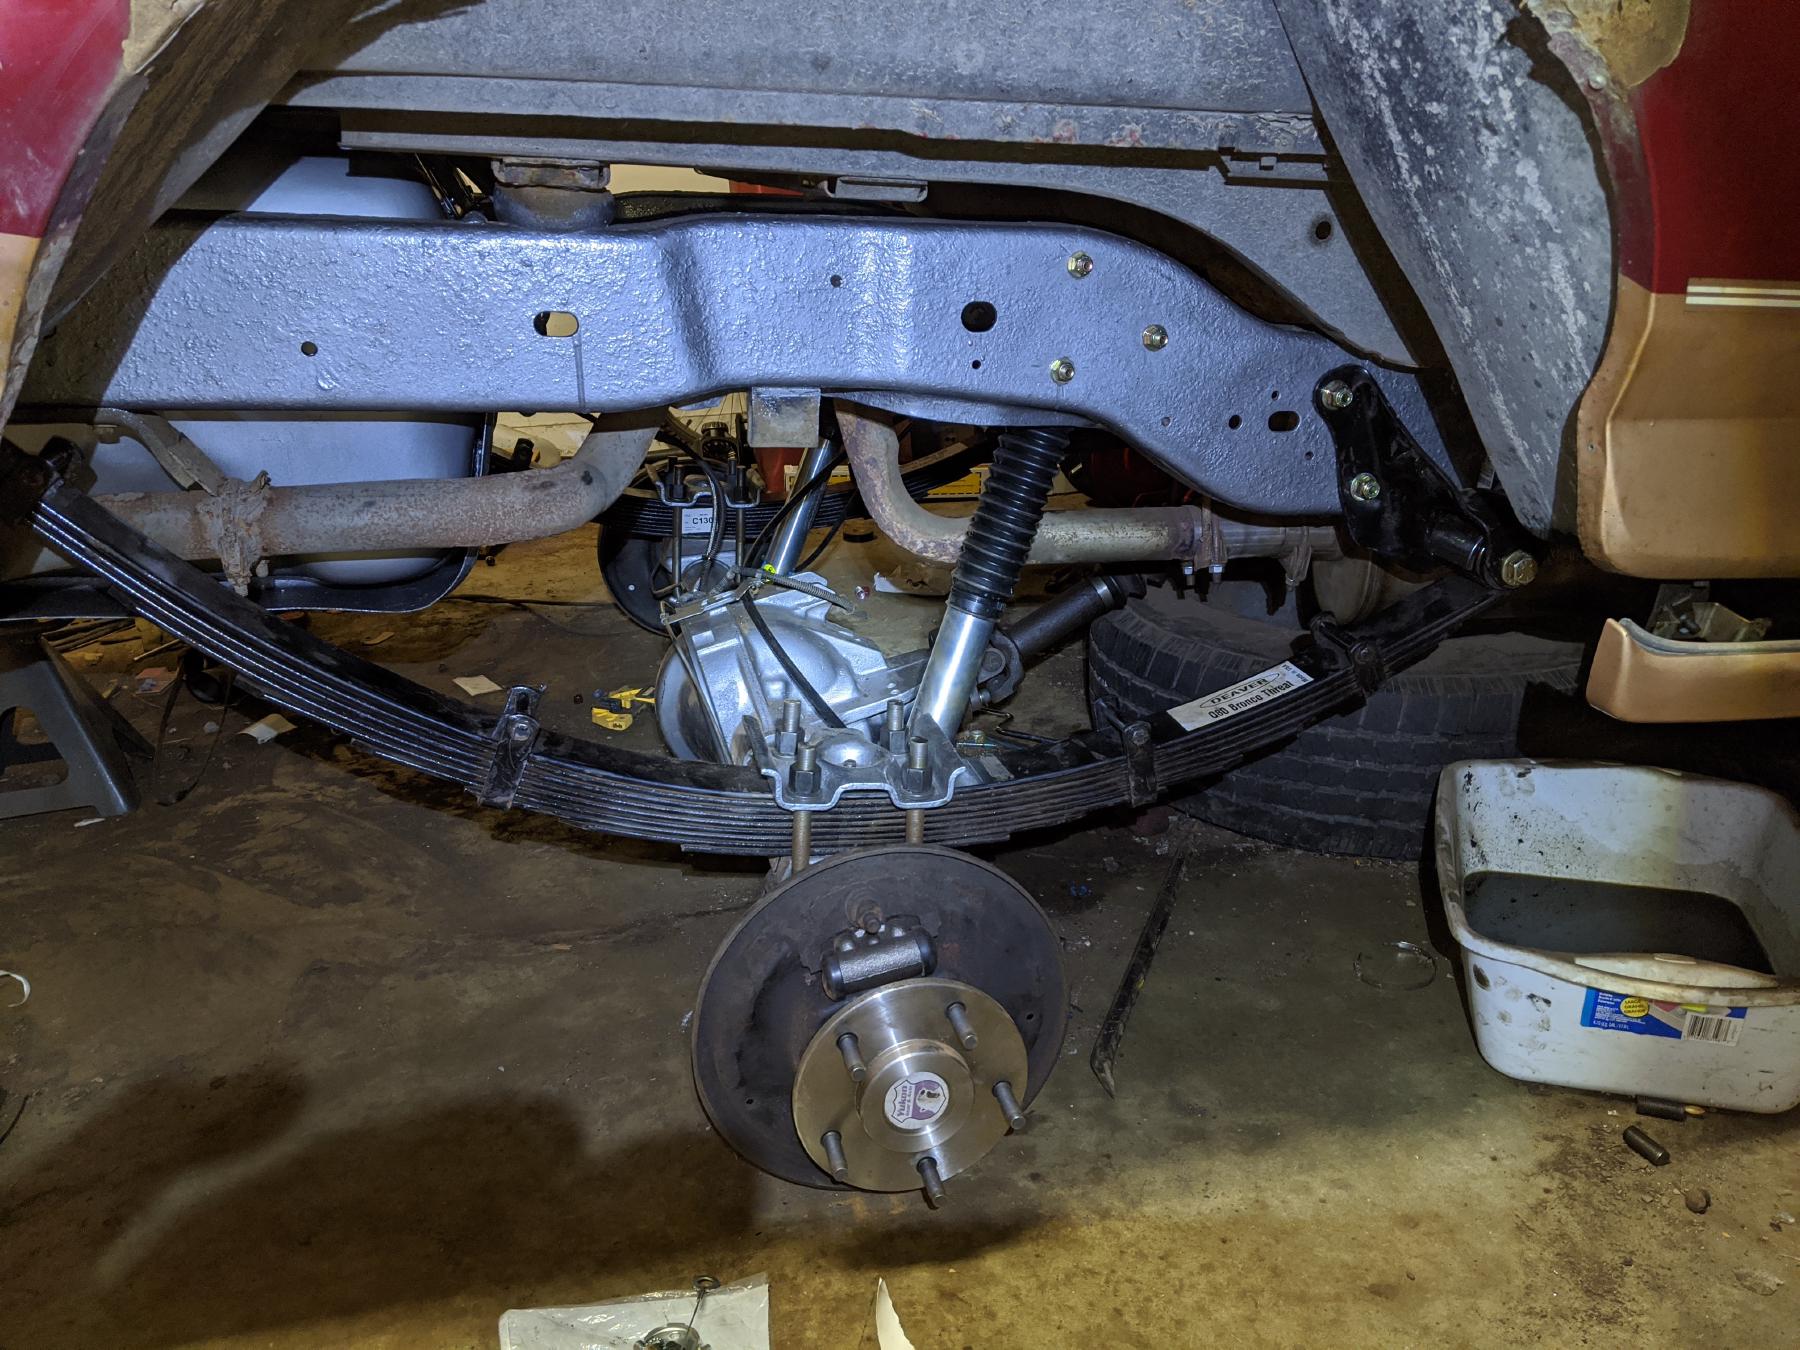
Once the engine was assembled and I was able to start tuning there were other mechanical issues that reared their ugly head. The big one was the rear axle gearing had too much play. It was pretty simple to determine with some wiggling, but ultimately what had happened was the rear driveshaft spline had rusted solid causing excessively high loads on the pinion gear. These forces were enough to change the crush sleeve/bearing preload/backlash. It was time to rebuild.
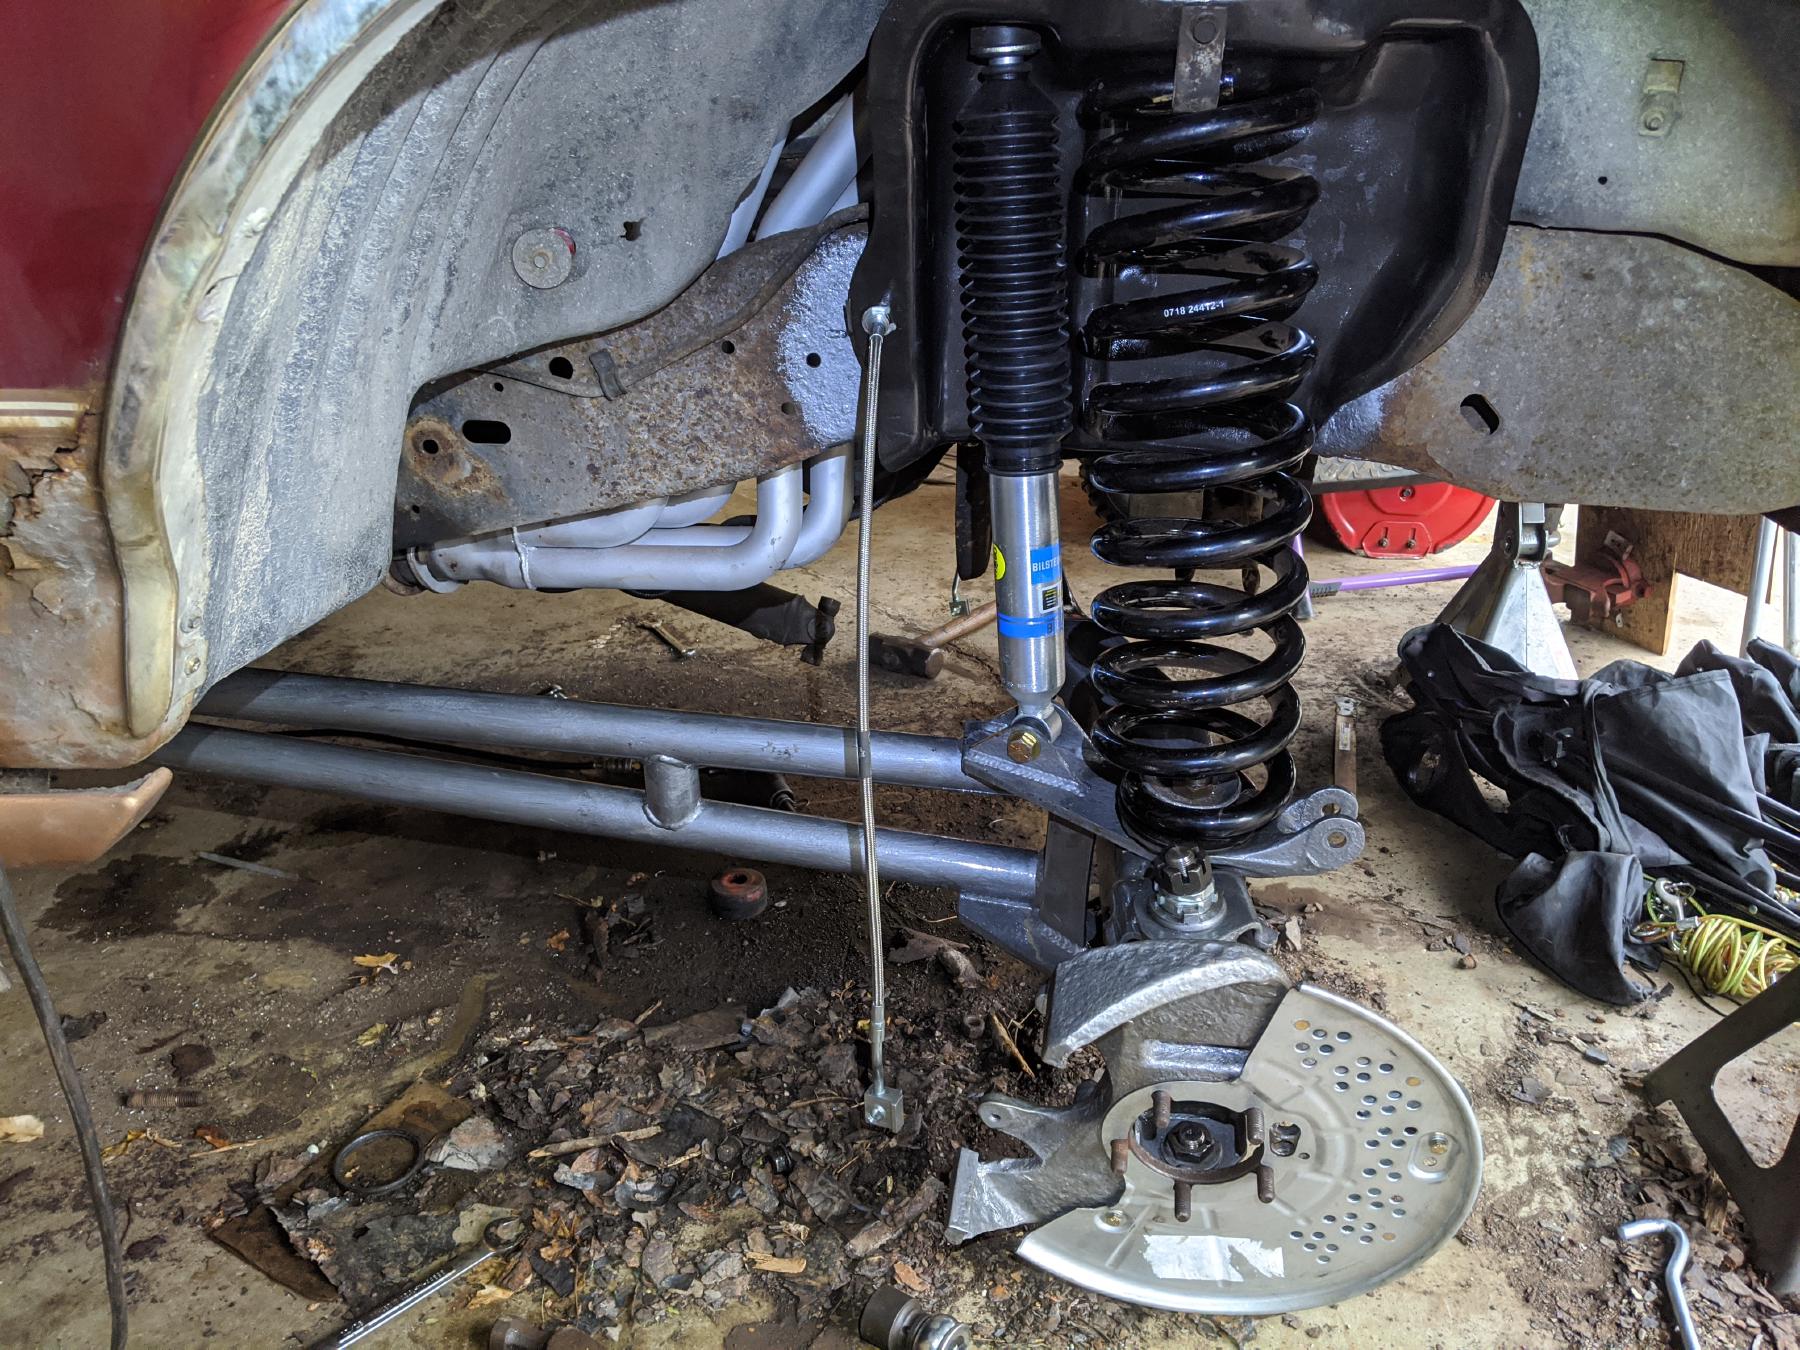
This is where the vehicle’s real new image started. If I was to redo the rear axle it would be easier if I could remove the rear axle as I do not have a lift. If I’m taking the rear axle out might as well also do a lift kit and there just so happens to be a lift kit I always wanted to play with for the different suspension Ford implemented on a few of their vehicles. Ford used a combination of solid axle components and twin I-beam style suspension which was called the Twin Traction Beam. This style of suspension has been widely supported in the prerunner/desert racing community by modifying the geometry of the knuckles to lift the vehicle and promote more travel. It always looked like a fun thing to use on a vehicle and see how it would perform in other situations.
A kit was ordered for the front components as well as parts to lift the rear axle and add more travel. There are multiple sources for this kit, but I purchased mine from Threat Motorsports and will say it is a top notch kit. I also ordered all the components to rebuild the axles front and rear which included new gears for bigger tires, limited slip differential for the rear, all new brakes (and lines), new rear axles, and many other misc components. By the end of all of this, the suspension was completely brand new from frame to the ground.
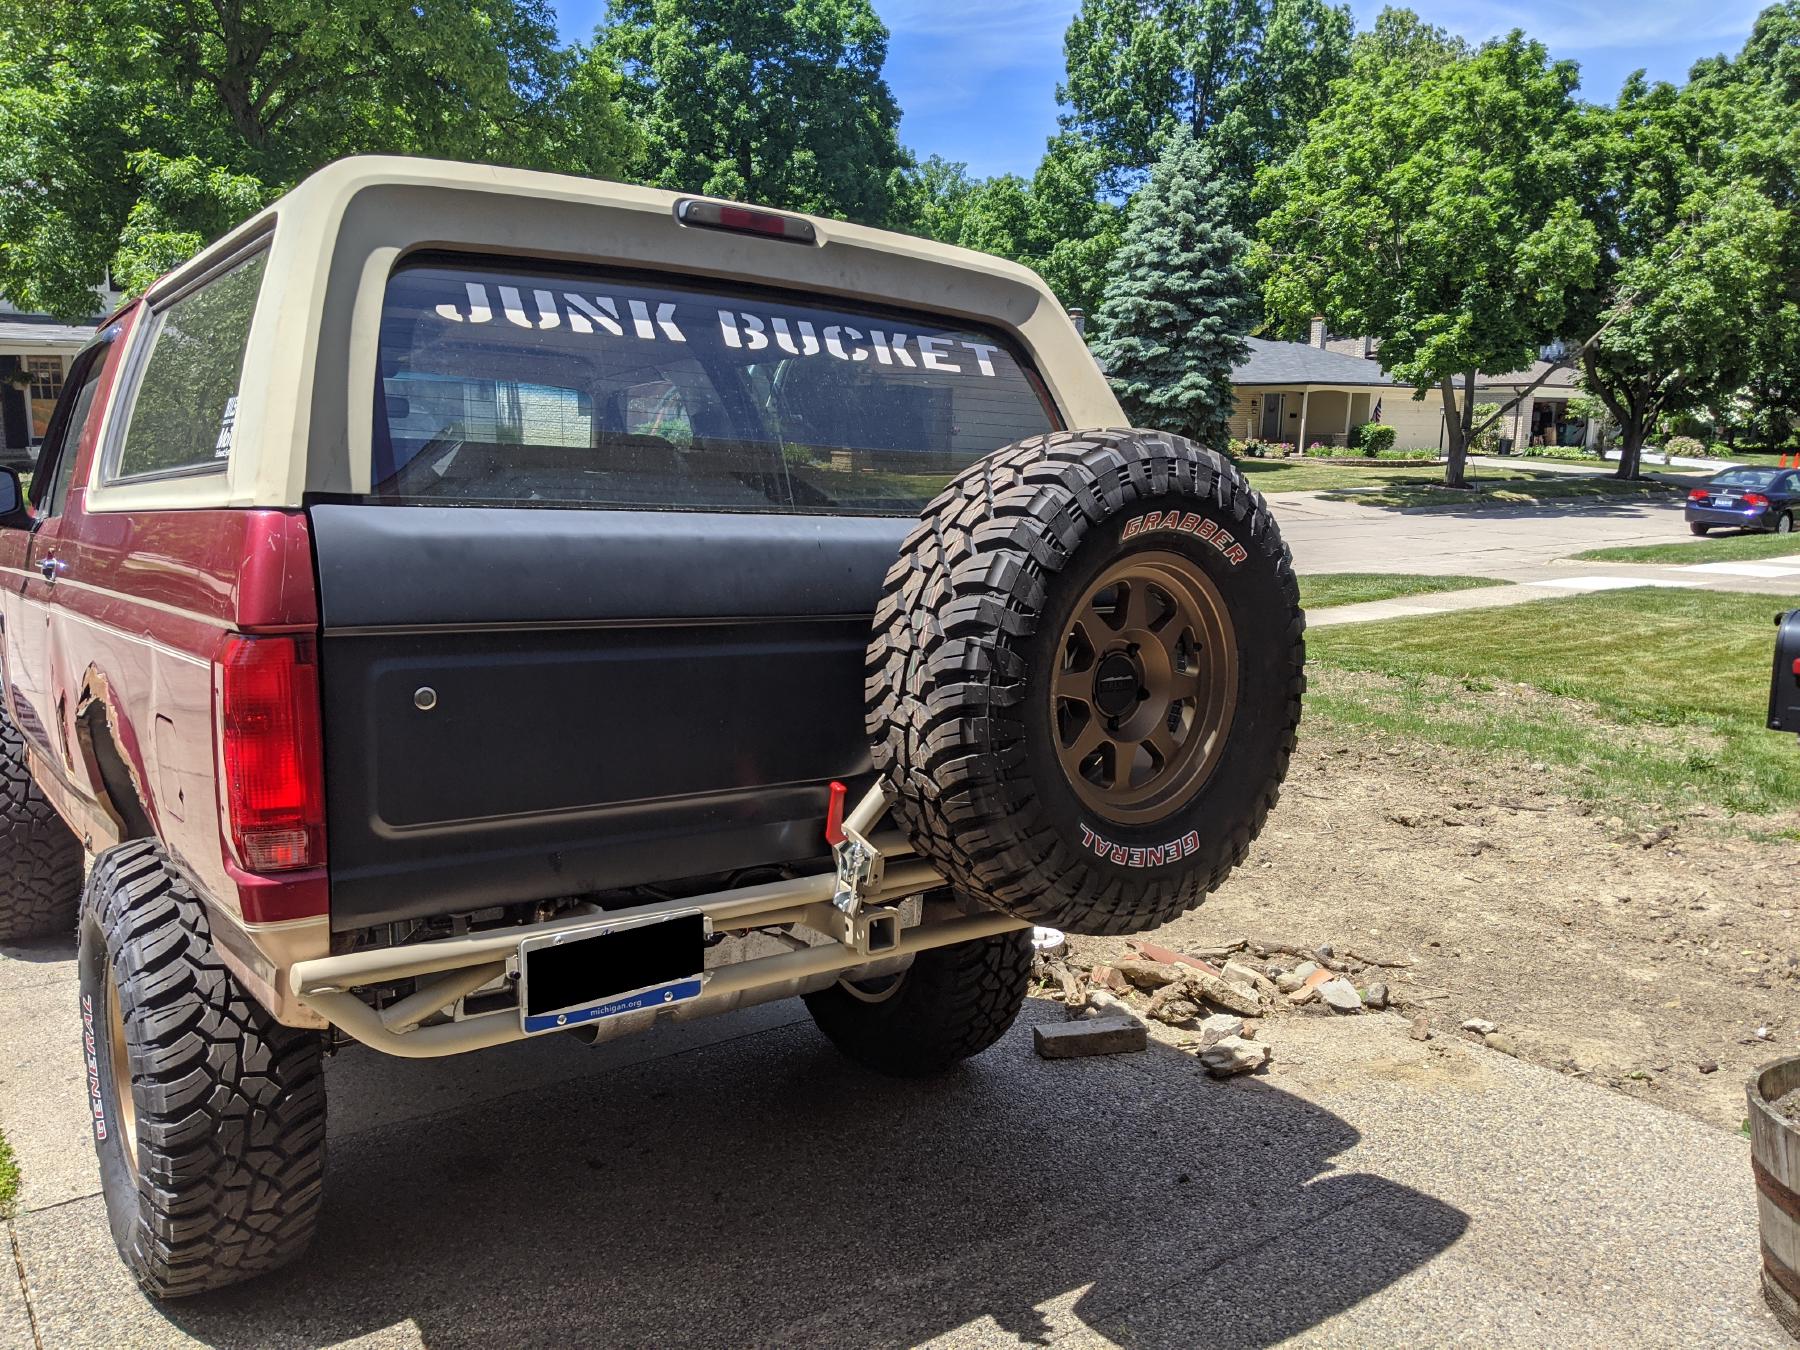
New lift also needed new wheels and tires to finish it off, so a set of Method Race Wheels and Genneral Grabber X3s went on all 4 corners to finish off the look (see image in summary). Unfortunatley bigger tires = bigger loads and more ugly mechanical issues reared their head. This time much more catastrophic in horrible noises and vibrations coming from the transmission. This resulted in yet more direction change stated in Deciding On the Future
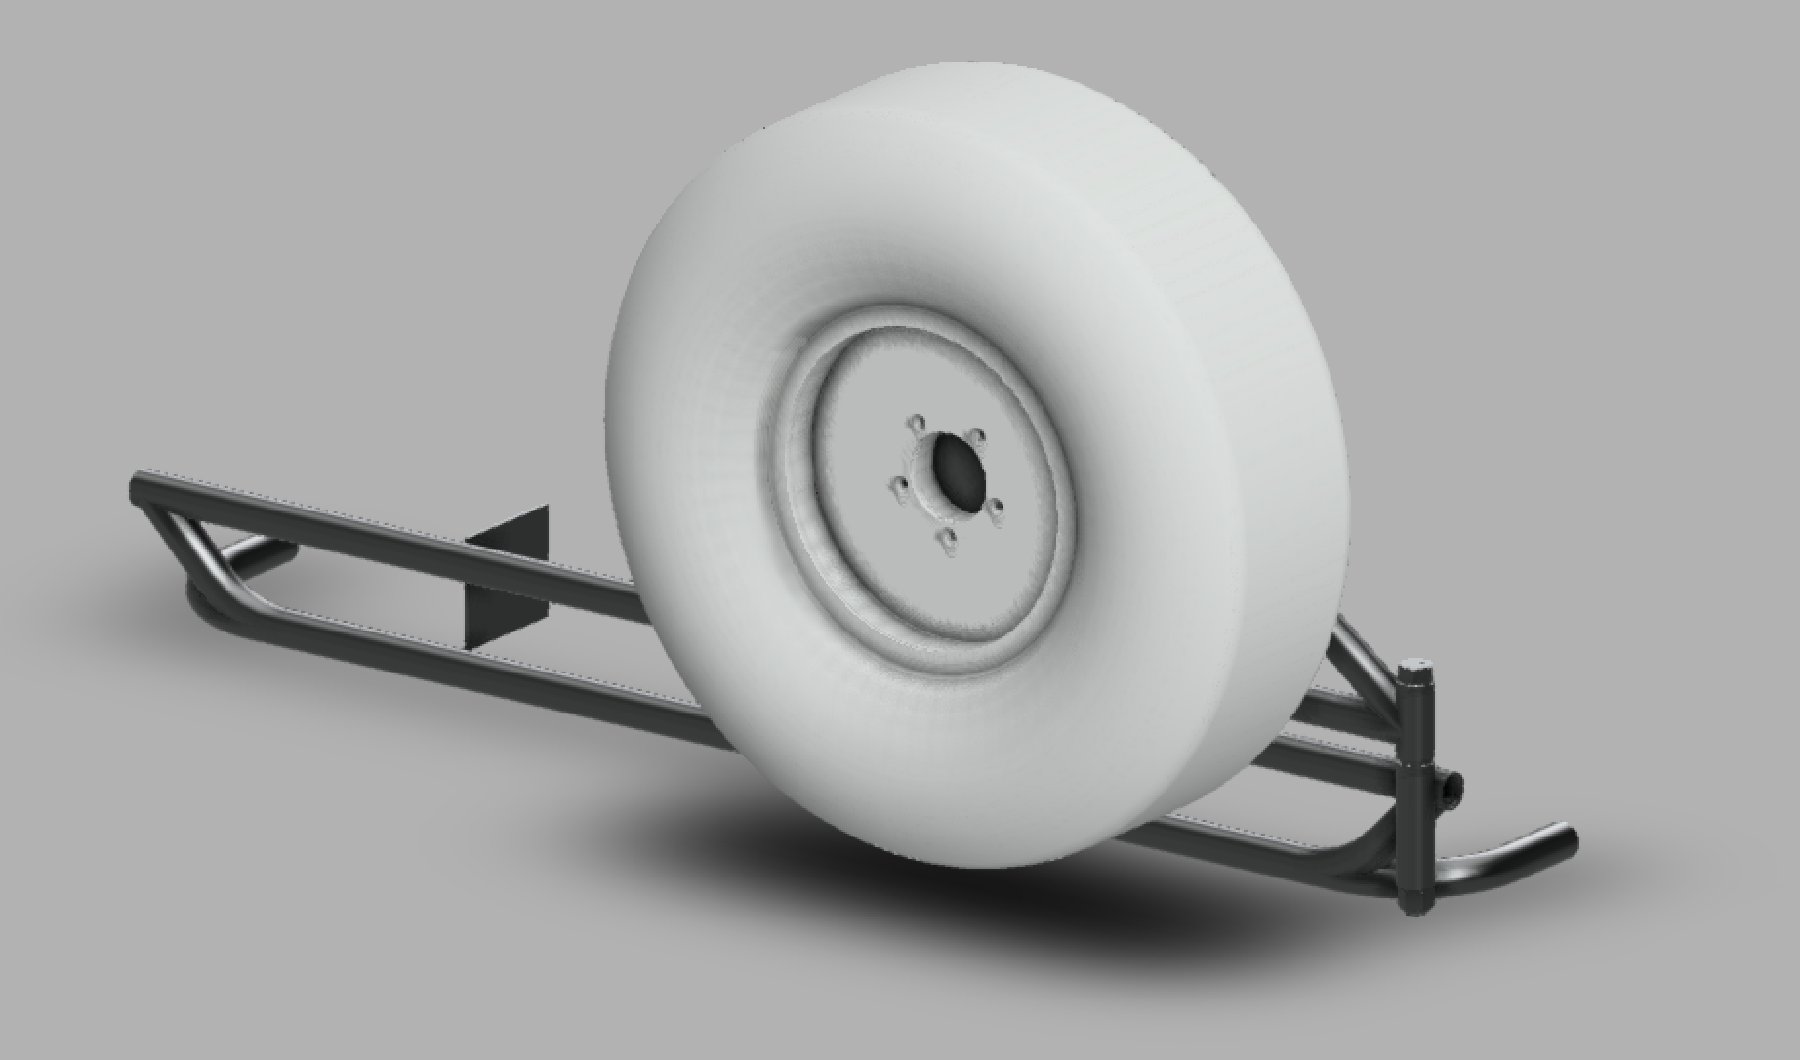
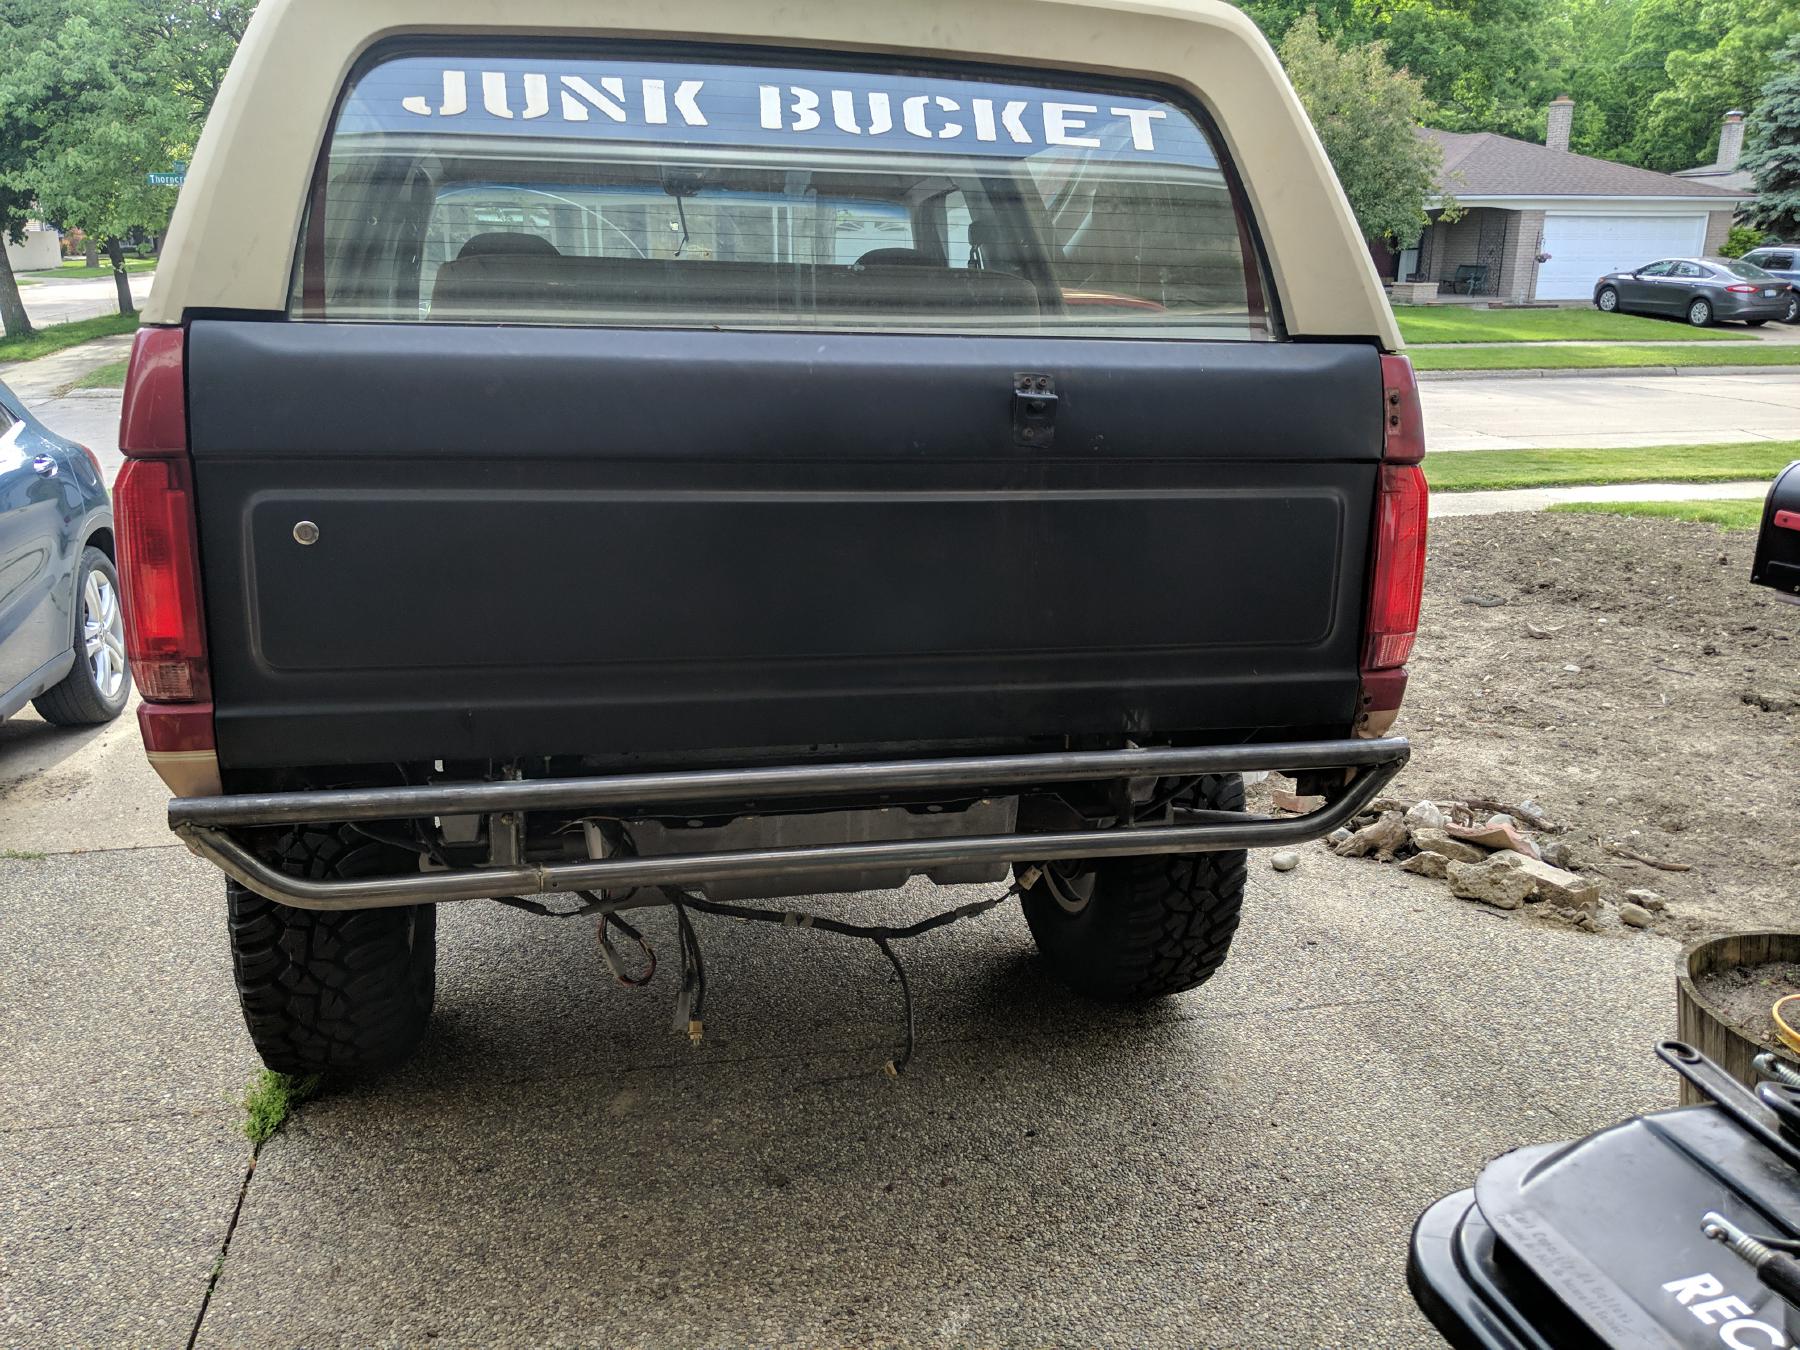
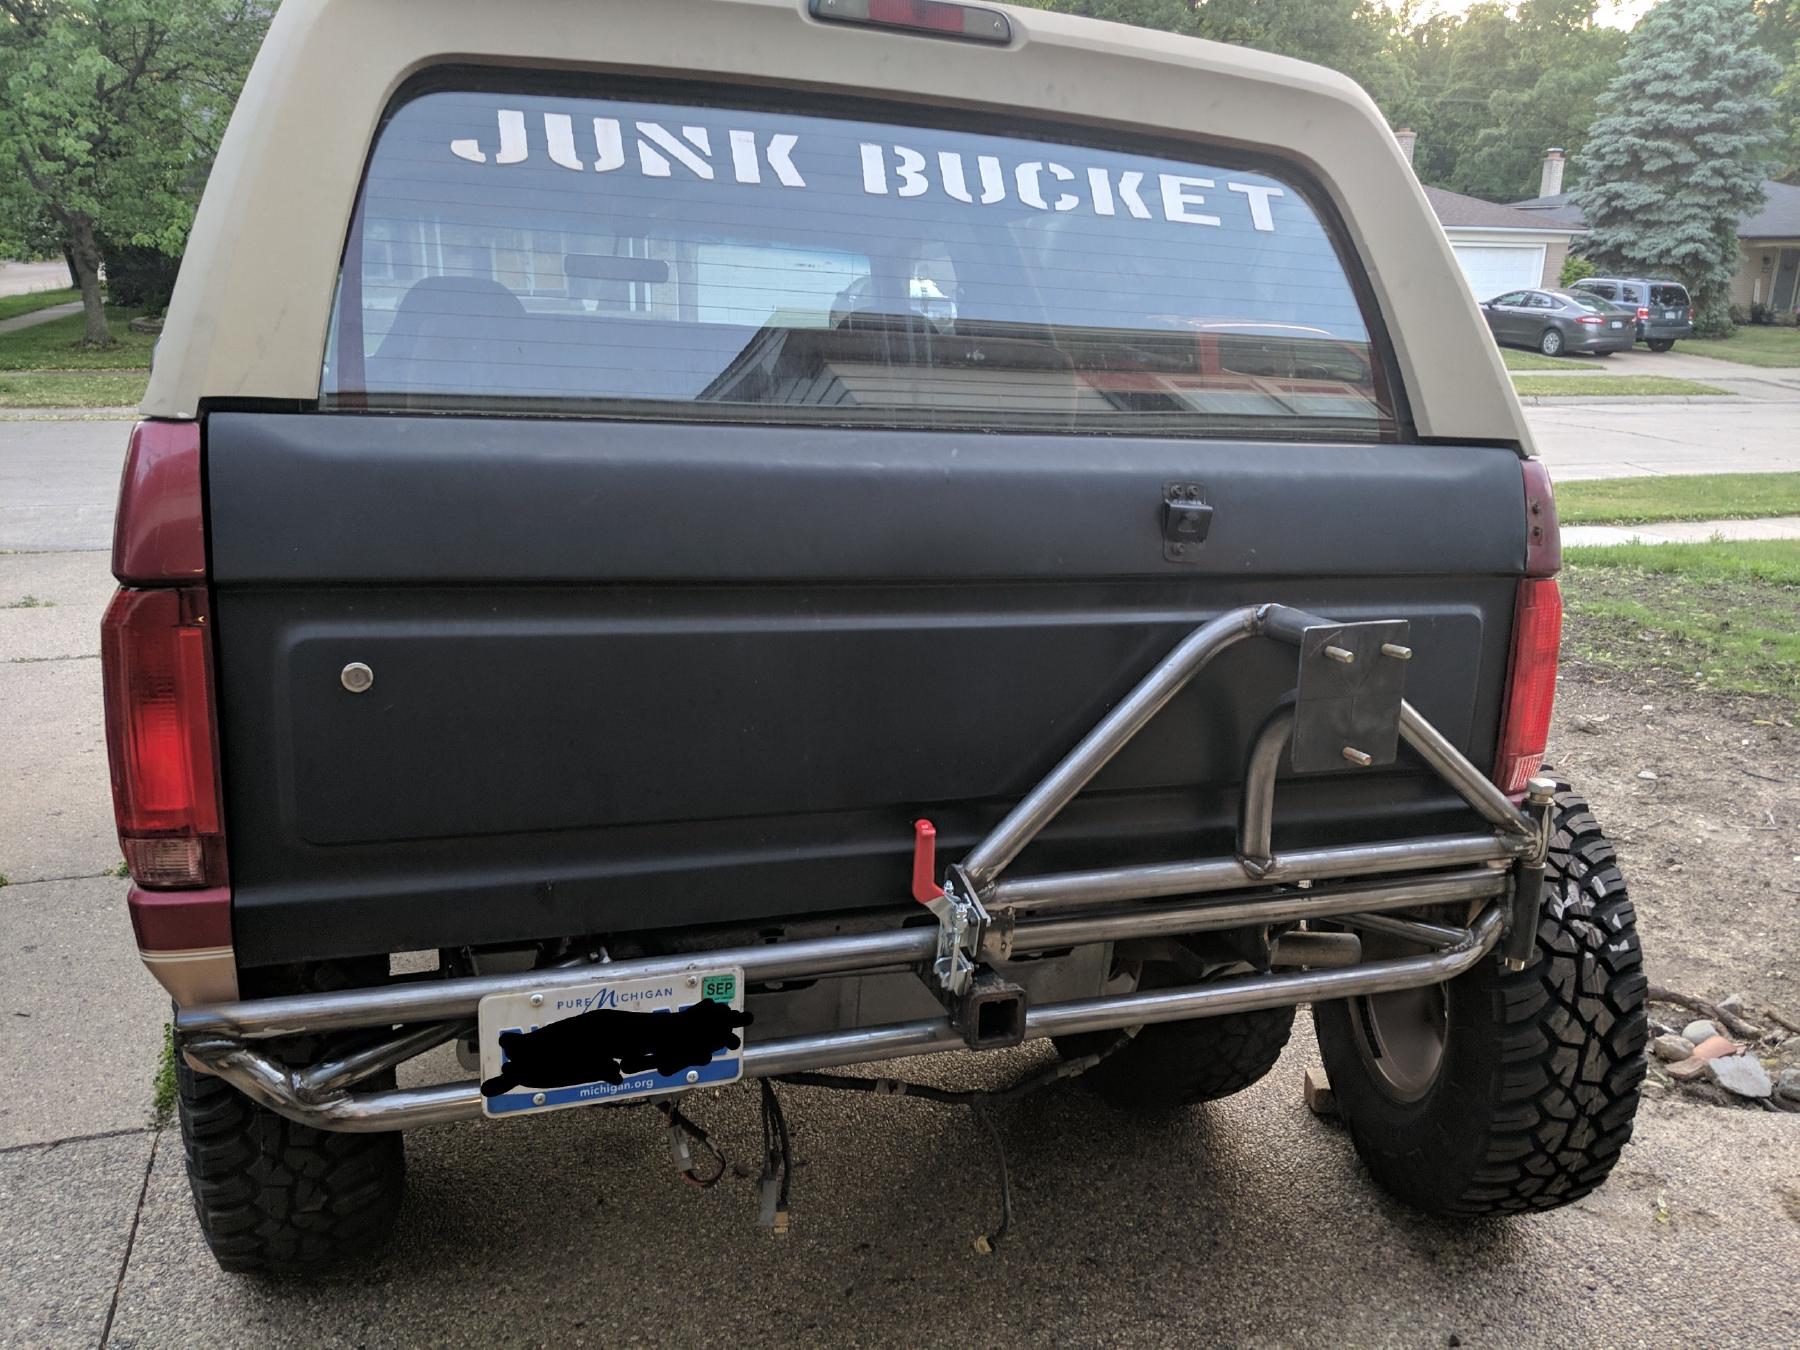
The larger tires from the lift kit required a new way to carry the spare tire. I love the look of the factory tire carrier, but with the amount of rust on the vehicle I was concerned the extra weight would ruin the already questionable rear quarter panel. It was time to make a bumper mounted tire carrier. I also used this project for my own personal learning. I needed a good project to further my welding skill (especially on tubing) and wanted to learn to use a tubing bender.
First was to come up with a design I liked. The design was sketched out in Autodesk Fusion 360 using measurement from the rear frame as well as some key measurements for clearance to rear quarter panel and tail lights. The design was intended to use 1.75x0.120 round tube and 1/4 plates for mounting to vehicle. This was to get an initial idea of look as well as estimate the amount of tubing I might need.
Once the desing was completed materials and tools were ordered and it was time to get building. The design was slightly modified from the CAD. I decided to remove the small quarter panel protection tubes for now as my current quarter panels are already ruined and not in the correct location for those tubes. I also added a hitch tube with some tie ins to the frame plates.
I am absolutely happy with how rock solid the rear tire is and how strong the bumper is. I am able to jack up the vehicle by it no problem and look forward to further tests such as pulling with it.The end goal of this vehicle is to use it as a mobile living quarters for long road trips. Sometime in 2022 (pending how the world is) the plan is to road trip all the way to Glacier National Park and back (visiting many other parks and attractions on the way) in the Bronco. Now I love camping but I am not about to spend a couple weeks sleeping on at best a camping mat. We also wanted the ability to hunker down if need be anywhere such as a roadside rest stops. That was going to require a sleeping situation that would be able to fit inside the vehicle.
After taking some measurements we determined there was LOTS of space. So much so we can fit a queen sized folding foam mattress comfortably. So that was the goal to be able to use that. Then it was again time to plan the fitment some. Once again, we open up Fusion 360 and play with the space. Taking the critical dimensions from the Bronco bed space (such wheel wells and spae between sides) a rough plan was created that utilized a piano hinge to make it possible to fit entirely inside yet still be able to sit in front seats when not in use.
From there it was time to execute. With a bit of plywood and some 2x4s I began putting together the platform and some supports to lift it to the correct height. First issue I ran into was the fact I didn’t account for the height of the folding portion of the platform. It hit the roof. So I had to reconfigure it about and made the folding portion have 2 hinges. that allows you to accordian it in without any issues.
I am super happy with how this turned out. I was shocked it was able to fit. There is lots of room underneath to store all the necessary road trip items. I can also fit stuff on top of the platform when not in use. This setup will be used with an SUV tent to just give us a little more comfort space and changing room, but it is not necessary to sleep in it if I did something like a weekend road trip.
With the mechanical issues I stated in the Dream Lift Kit section, it was time to decide what to do about the transmission and most likely the engine. For the road trip I needed a more robust and hopefully fuel efficient solution. I had a few ideas that I had dreamed up for a long time that sounded fun for this project.
Idea 1 - Electric Conversion
First ideas was doing some sort of electric drive train swap. This ideas was very exciting to me as it would be one of the first of it’s kind and electric is how the industry is heading. Unfortunately first of it kind also equates to cost. To hit a reasonable range it would require a large battery pack that was unfortunately cost prohibitive at the time of starting (batteries have definitely come down since).
Idea 2 - Upgrades to Factory Drivetrain
This was most certainly the easiest of solutions to upgrade the stock engine and transmission. And that was the problem with this idea. I wanted to use this opportunity to do something newer/different. So this ideas was low on the list even though the cost was manageable.
Idea 3 - Ford Barra Engine
The Ford Barra engine is an inline six devloped and heavily used in Australia. It has a lot of power potential and the added benefit of just being a cool engine. This was the direction I was heading before the road trip requirements. For a road trip, I want to be sure that if problems were to arise I would be able to get parts/fix things. Getting parts from very small amount of US distributors or worst case Australia is not the most ideal when on a tight schedule.
Idea 4 - 3.5L Ecoboost
As you will see in the next section, this is the direction I am heading as it was best of all solutions. The 3.5L Ecoboost and the 6R80 are in a lot of vehicles in the US so parts are easy to get. The engine and trans would provide better spirited driving while also being more fuel efficient. And one of the biggest factors is it’s a new thing. This swap has not been done a lot and there are no late gen Broncos with them so it would be interesting. The bit that really sealed the deal was I found a whole drivetrain pulled out locally for a very good price.
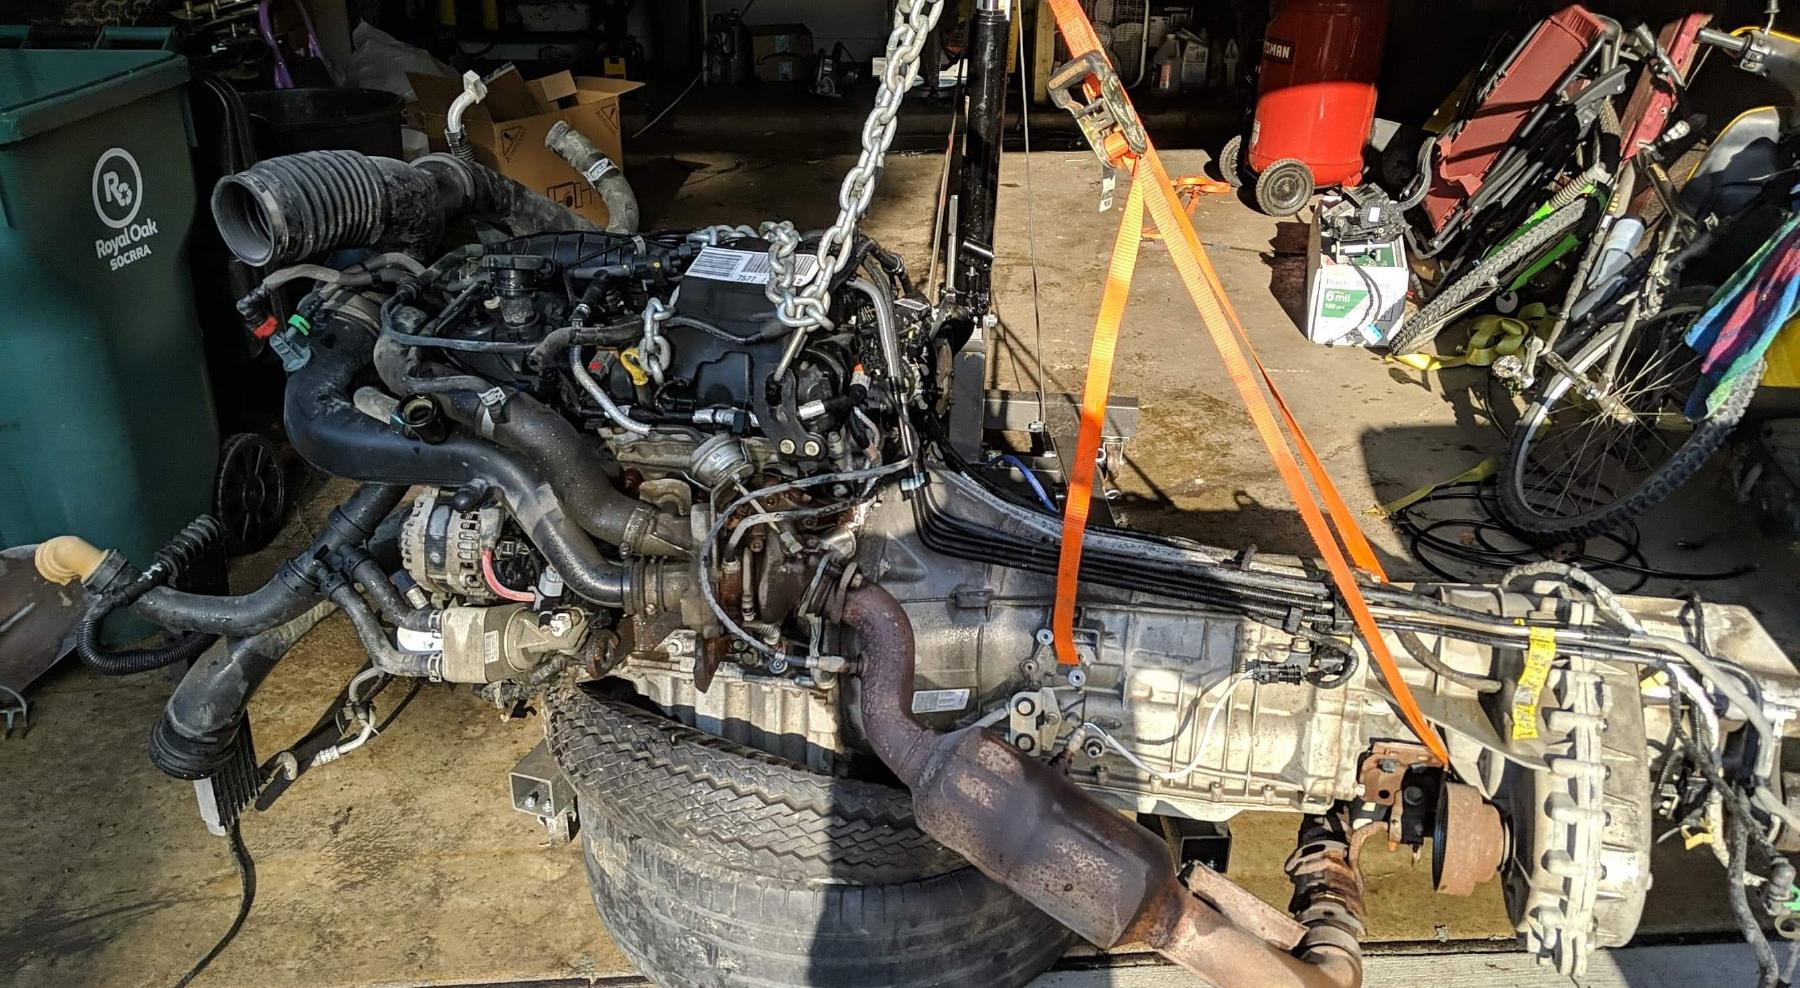
I was able to find a local individual rebuilding Lincoln Navigators that just to happened to be getting rid of the 3.5L Ecoboost and 6R80 out of a 2015 model year. I worked with them to get all the parts I needed which included engine, transmission, exhaust, engine bay wiring harness (which included accelerator pedal wiring), accelerator pedal, all the factory coolers and tubing, and many other bits and bobs. It was perfect to start with. Once I got the components and were able to give them a good look over, it was time to see if I could get the engine to crank outside of the car.
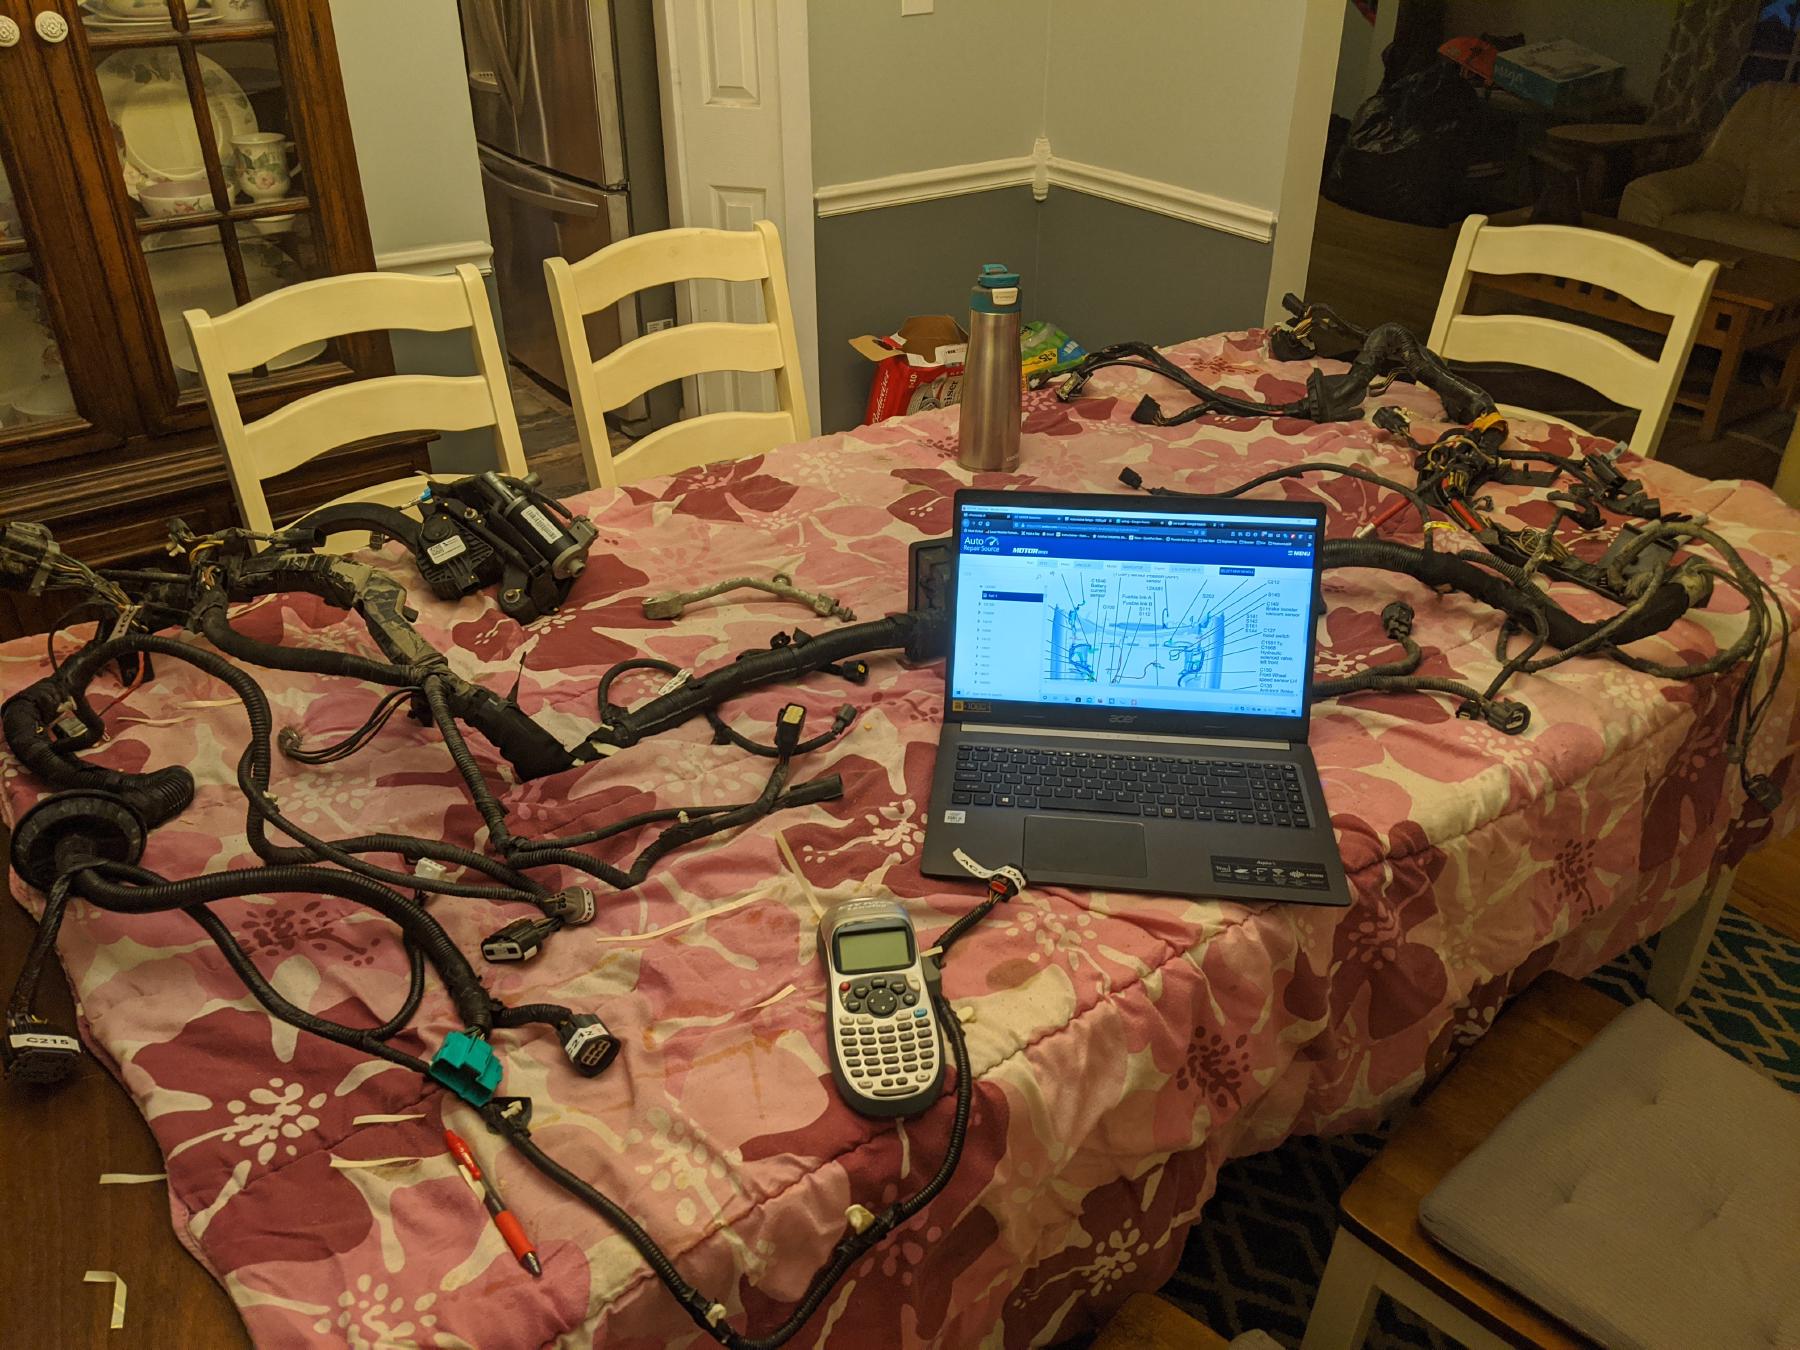
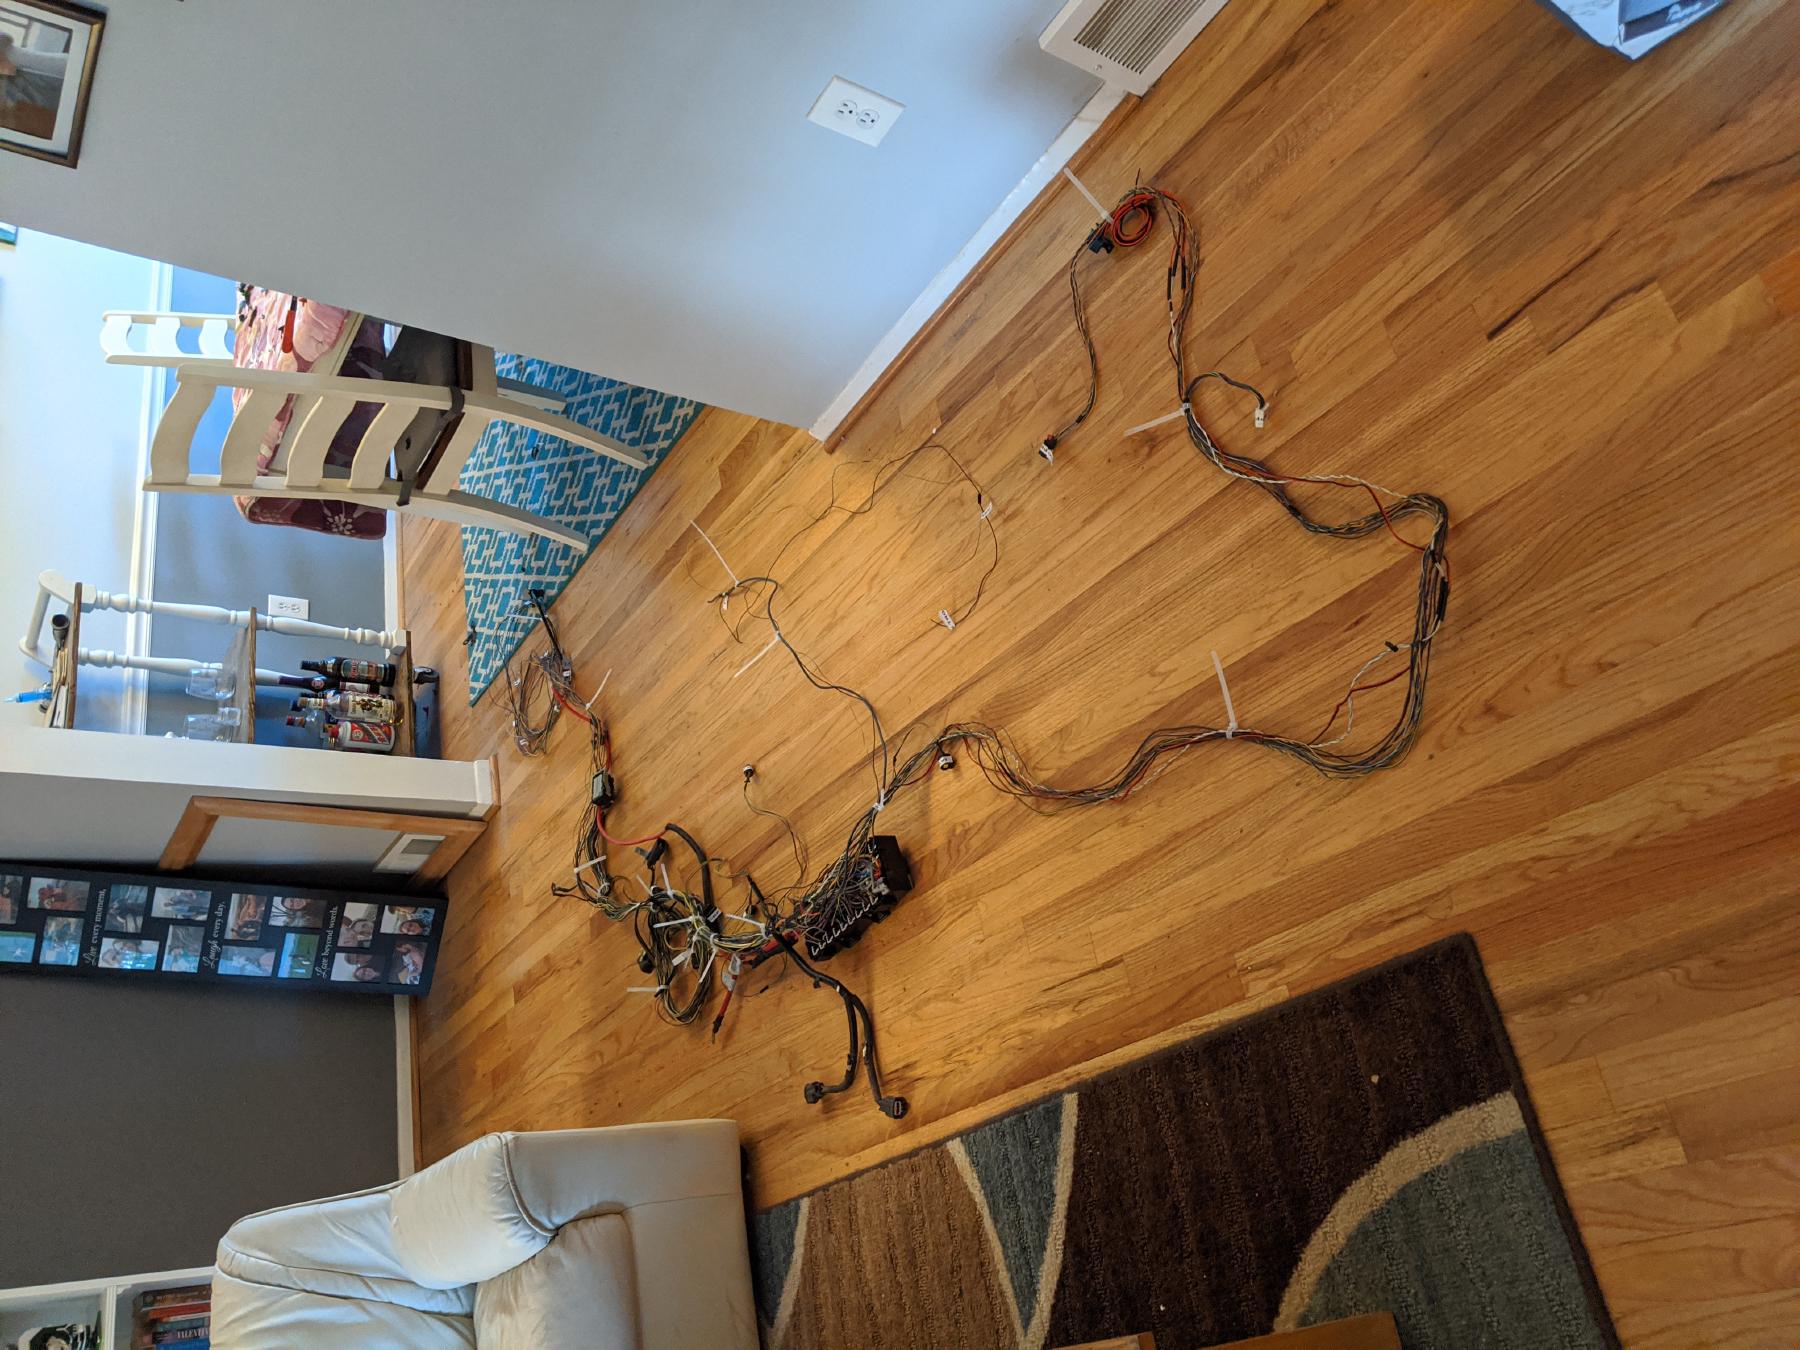
First order of business was cutting all the excess out of the wiring harness. This included all the factory navigator lighting, abs, air bags, body control module wiring, and many many other things. Using my access to the Michigan Electronic Library and there databases I was able to access all the necessary wiring diagrams to figure out all the individual wires and connectors to begin getting rid of the excess. In the end there was a total of about 14lbs of wire removed from the Ecoboost harness.
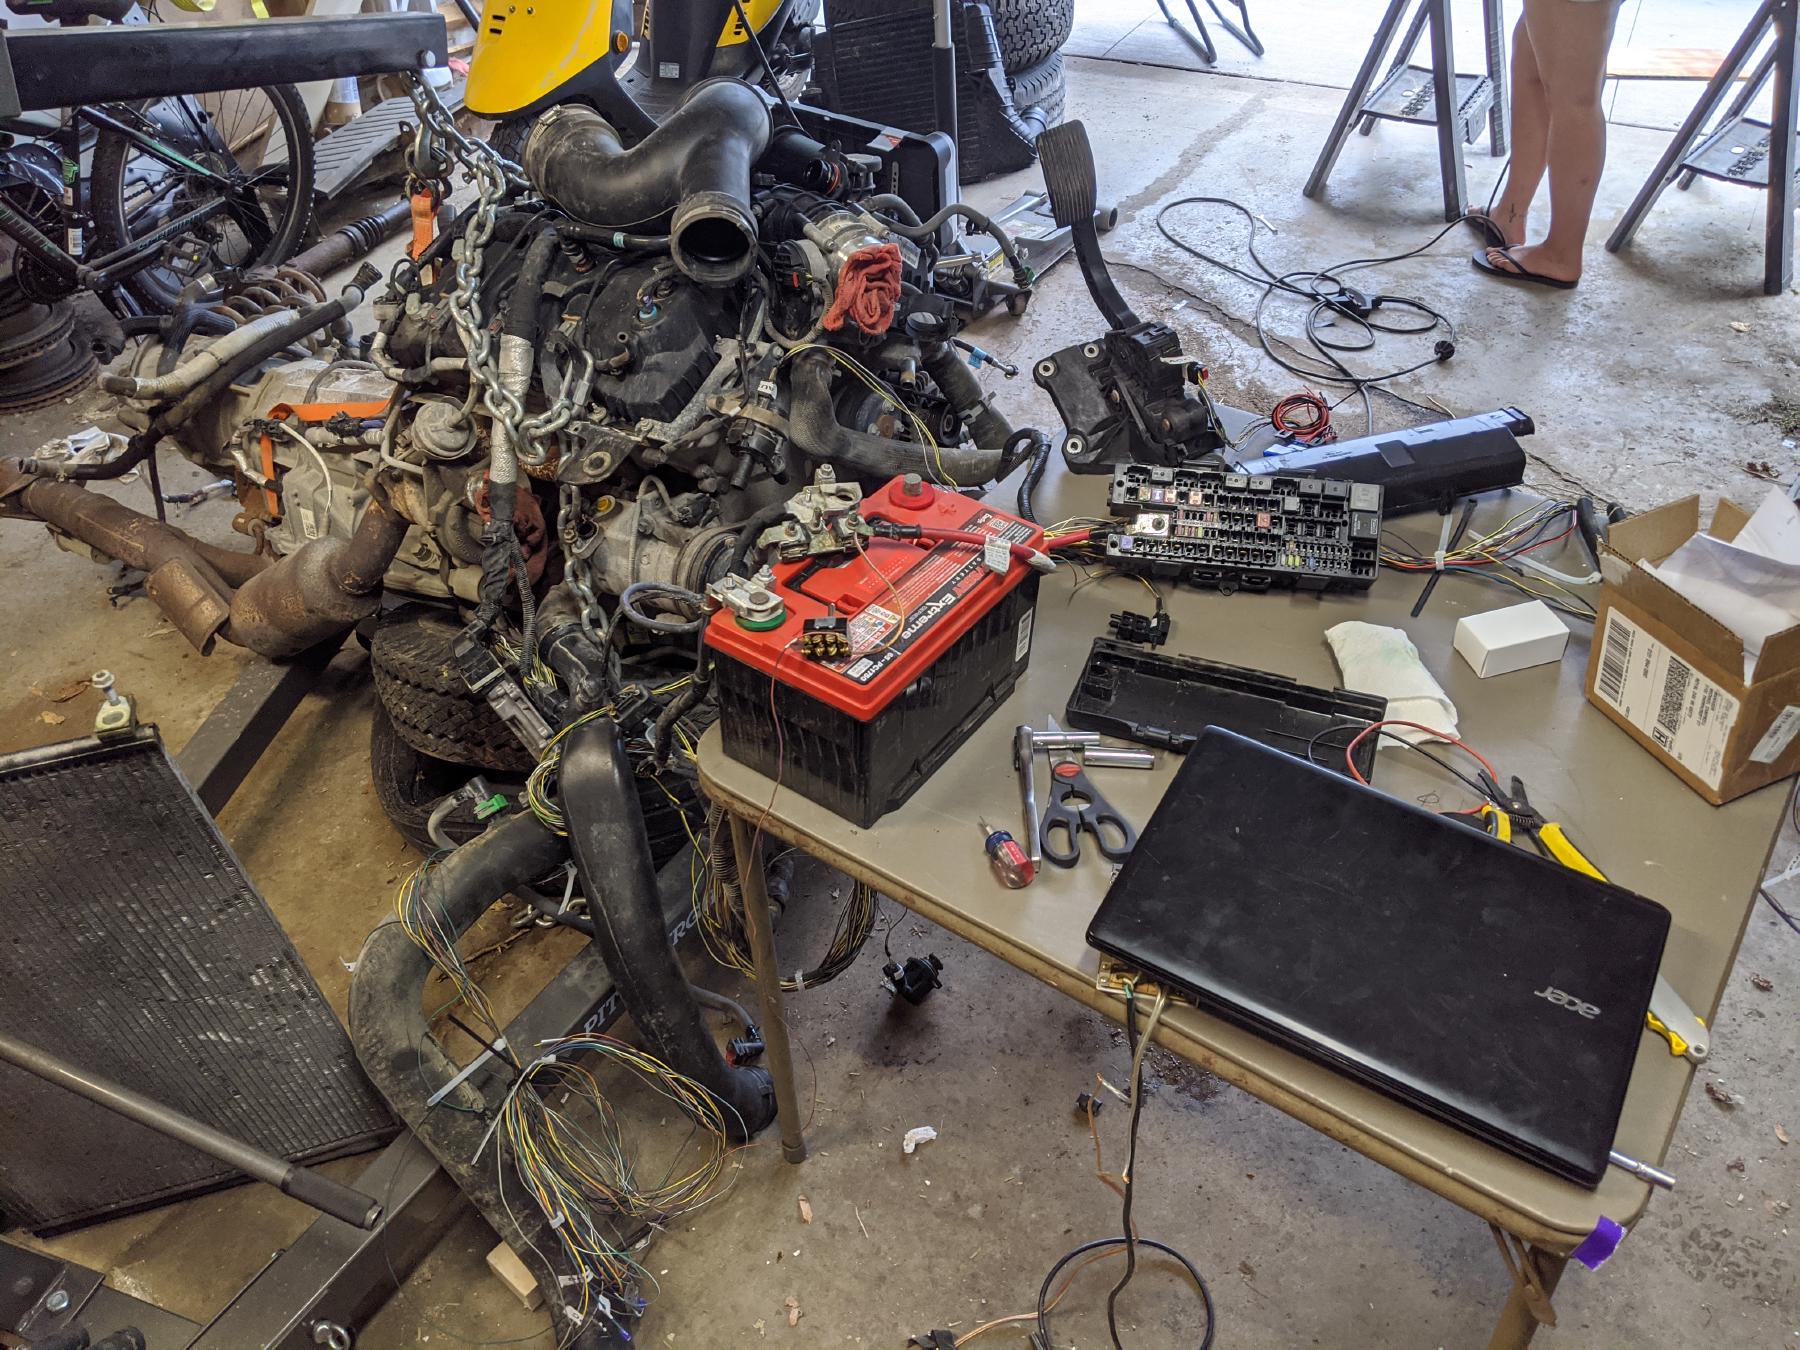
With the wiring cut down, next was to test it out. First order of business was removing PATS (Ford’s Security) from the factory ECU. Since I was not using any of the items the ECU was looking for (such as key and dash) I needed to get the ECU modified so PATS would not be an issue. Research before I started this project turned up a few companies offer this service. I used MARS Auto Parts who not only offered the service but also offer completely ready pallets for swaps (which I considered before I found the deal I did). ECU was out and back in a matter of days, and was promptly setup on a card table with engine and transmission sitting on tires. After some debugging of how the ECU powers up (Wake vs. Actual Power), I was able to get the ECU to crank. That promptly absolutely scared me as not only did it crank, but there was enough fuel in the system that it fired for a few seconds. We were in business.
Getting the new engine was an adventure. I’ve listed out some of the major tasks below
Completed Challenges:
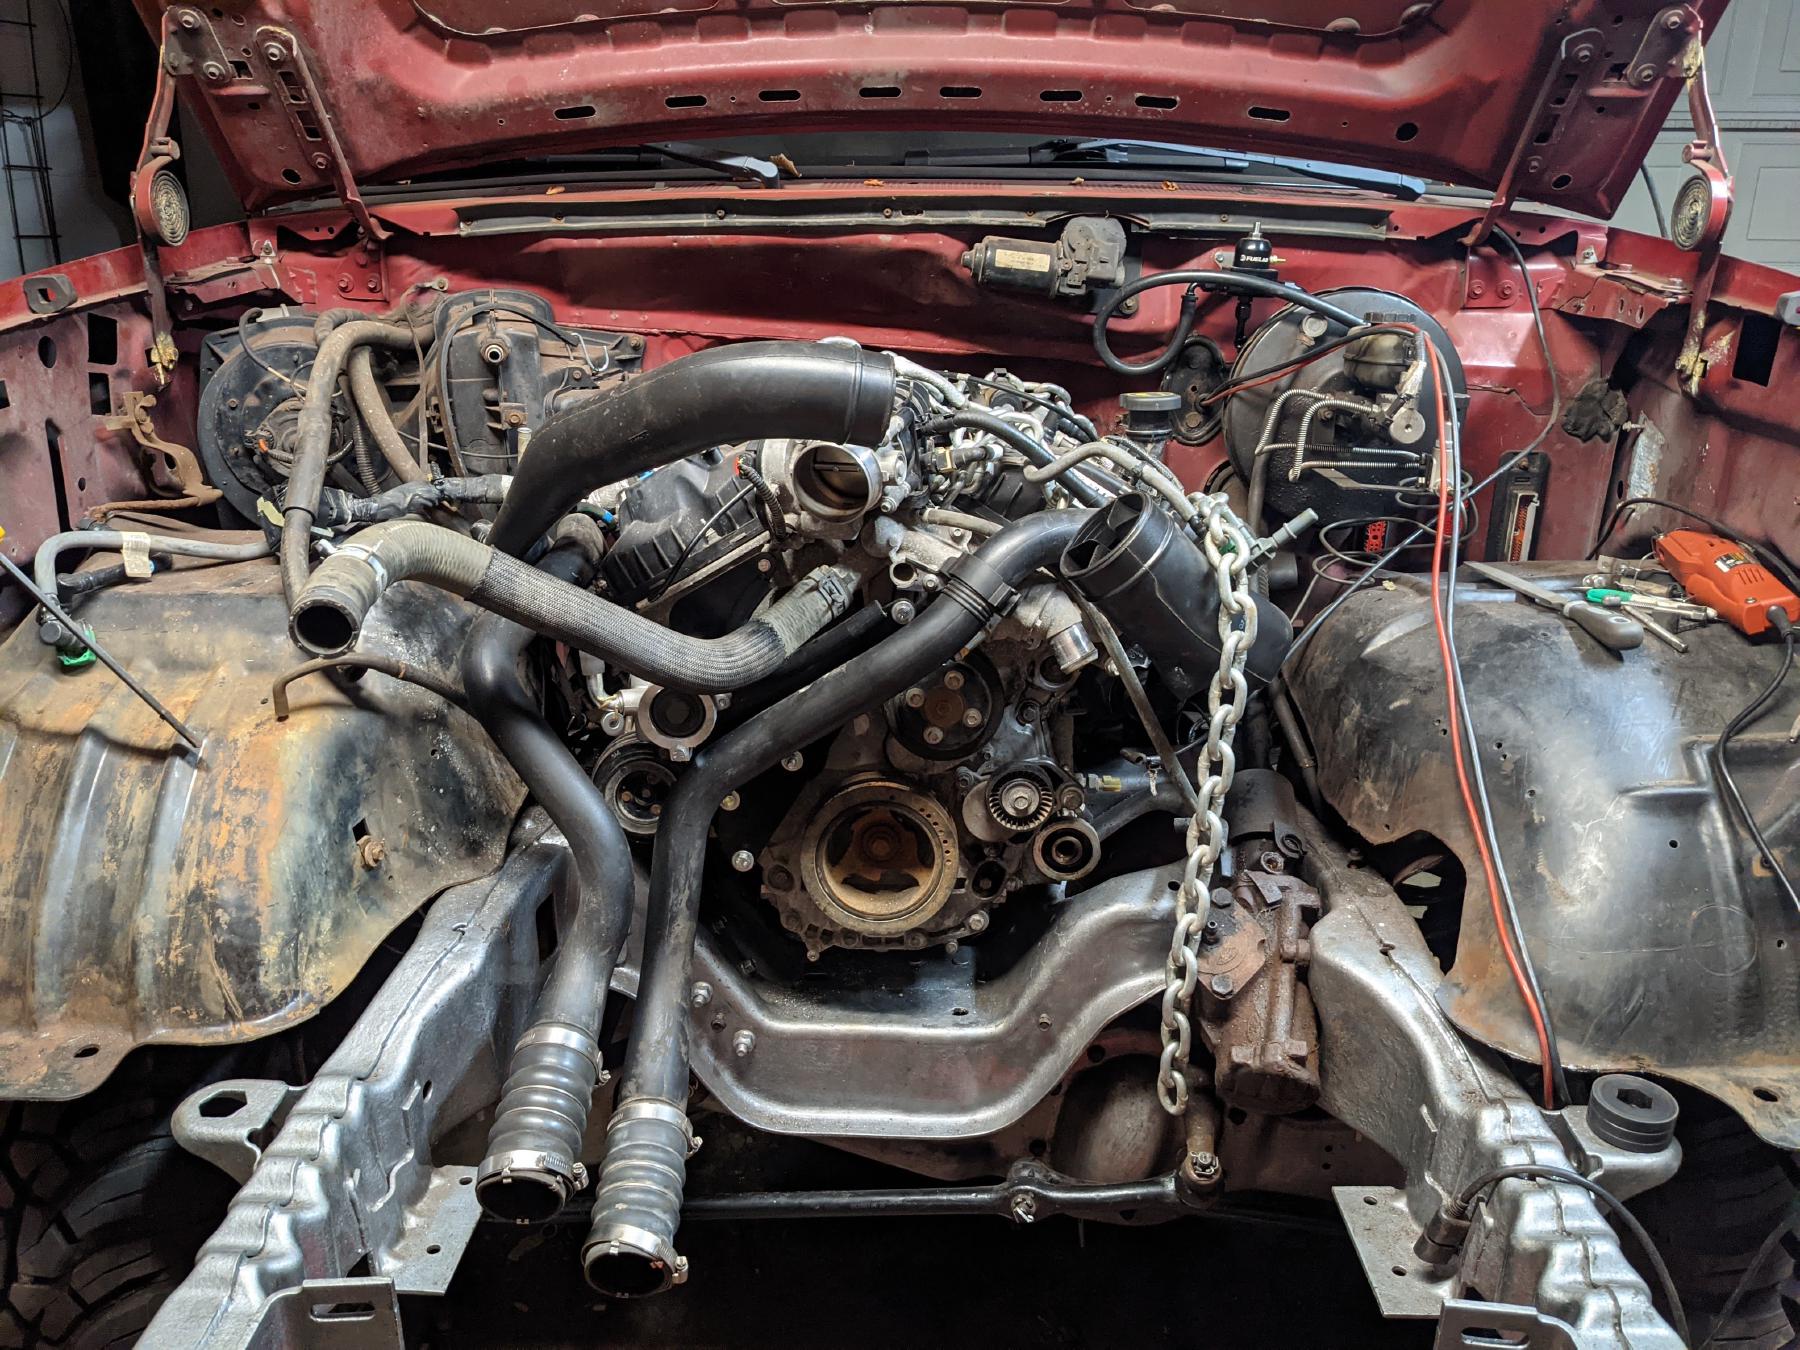
- Mounting engine and Transmission with custom cross-member and engine mounts
- Shifter linkage geometry geusing factory Bronco shifter
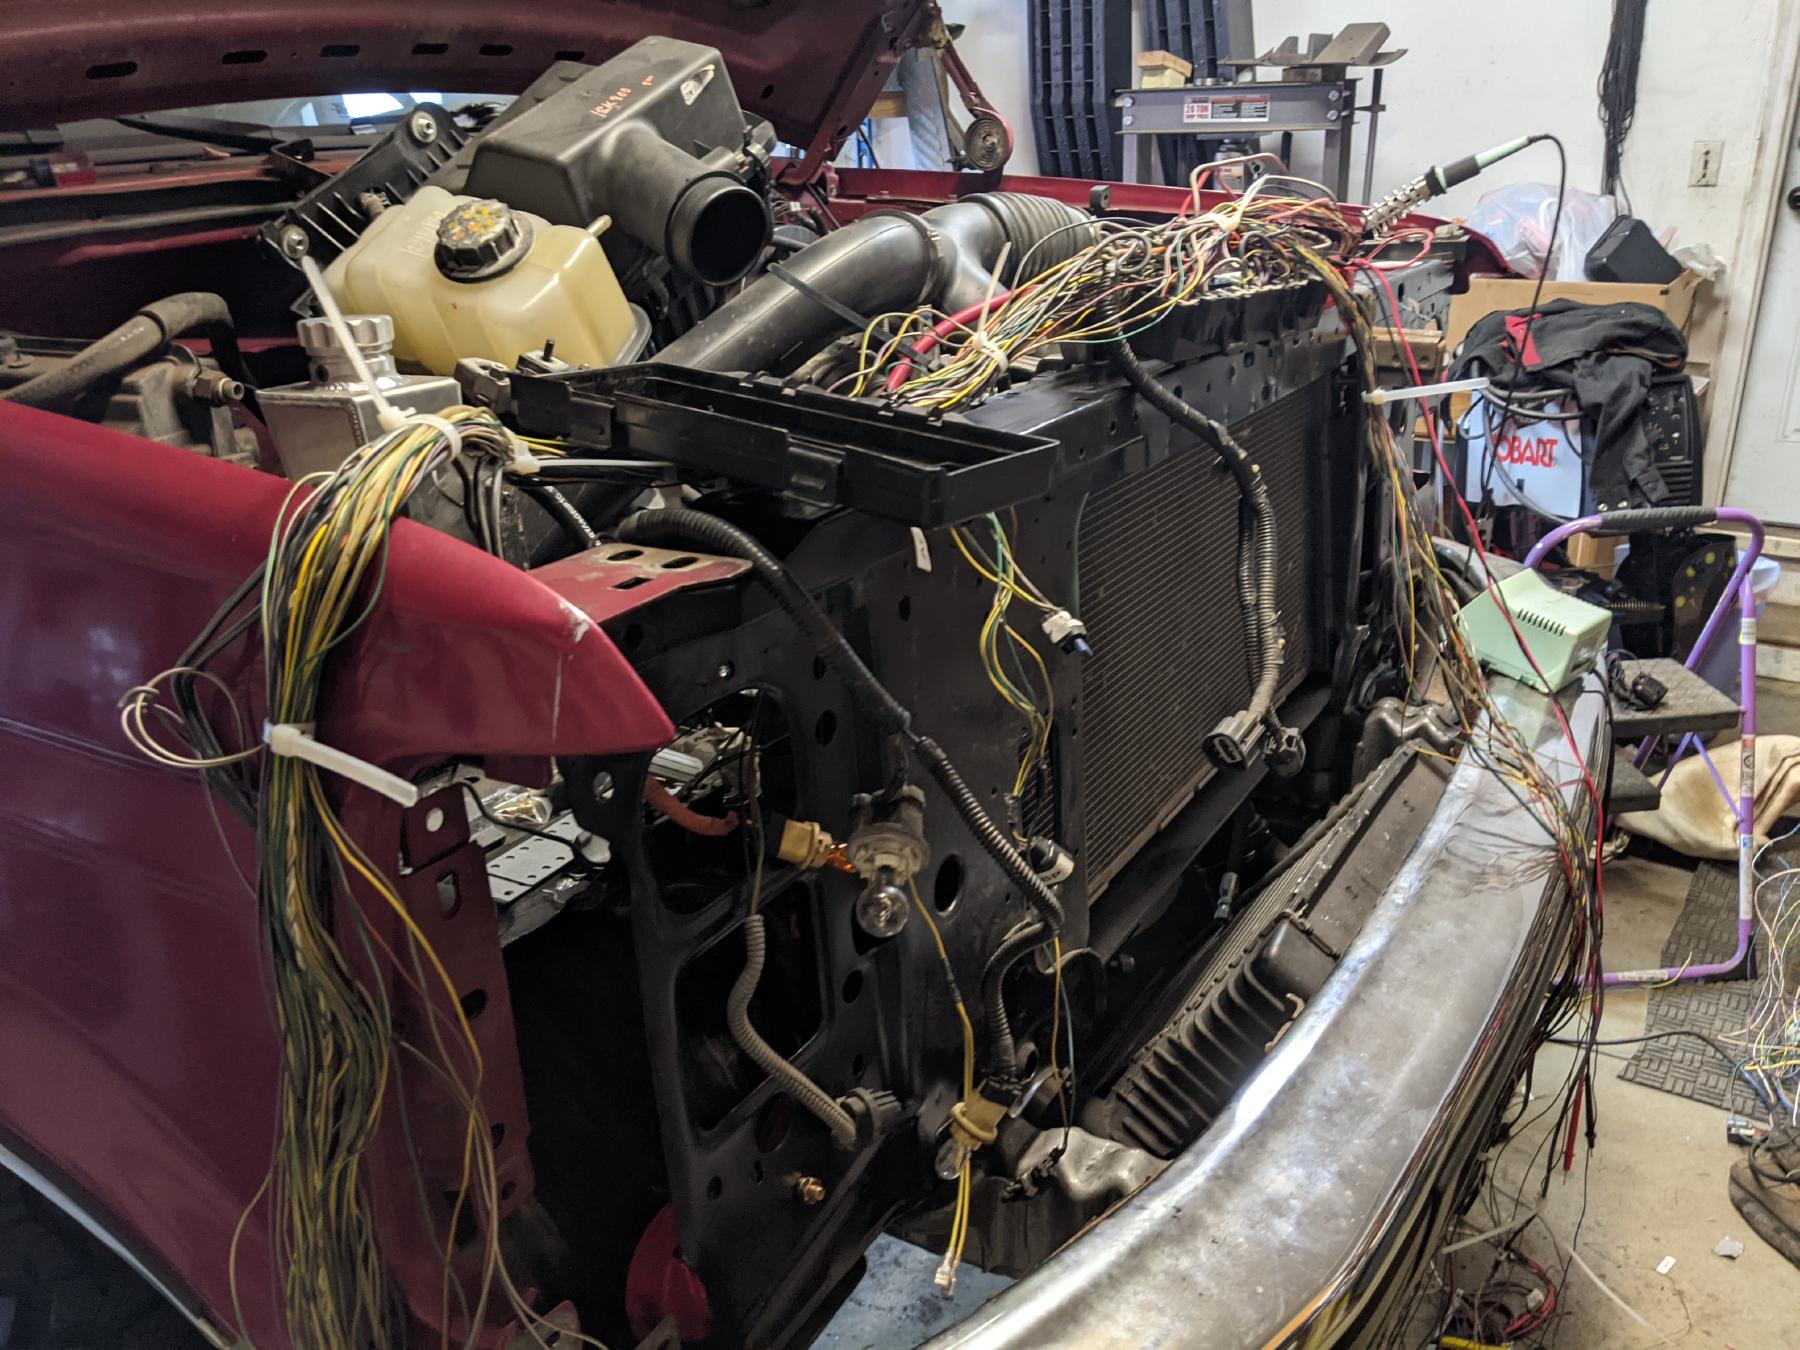
- Mounting new ecoboost coolers, air box, and ECU with custom brackets and modified core suppport
- Most of the hydraulic and AC lines
- Wiring intregration from old and new
- Intercooler mounting that tucks it up behind the bumper
- Engine oil and oil cooler lines
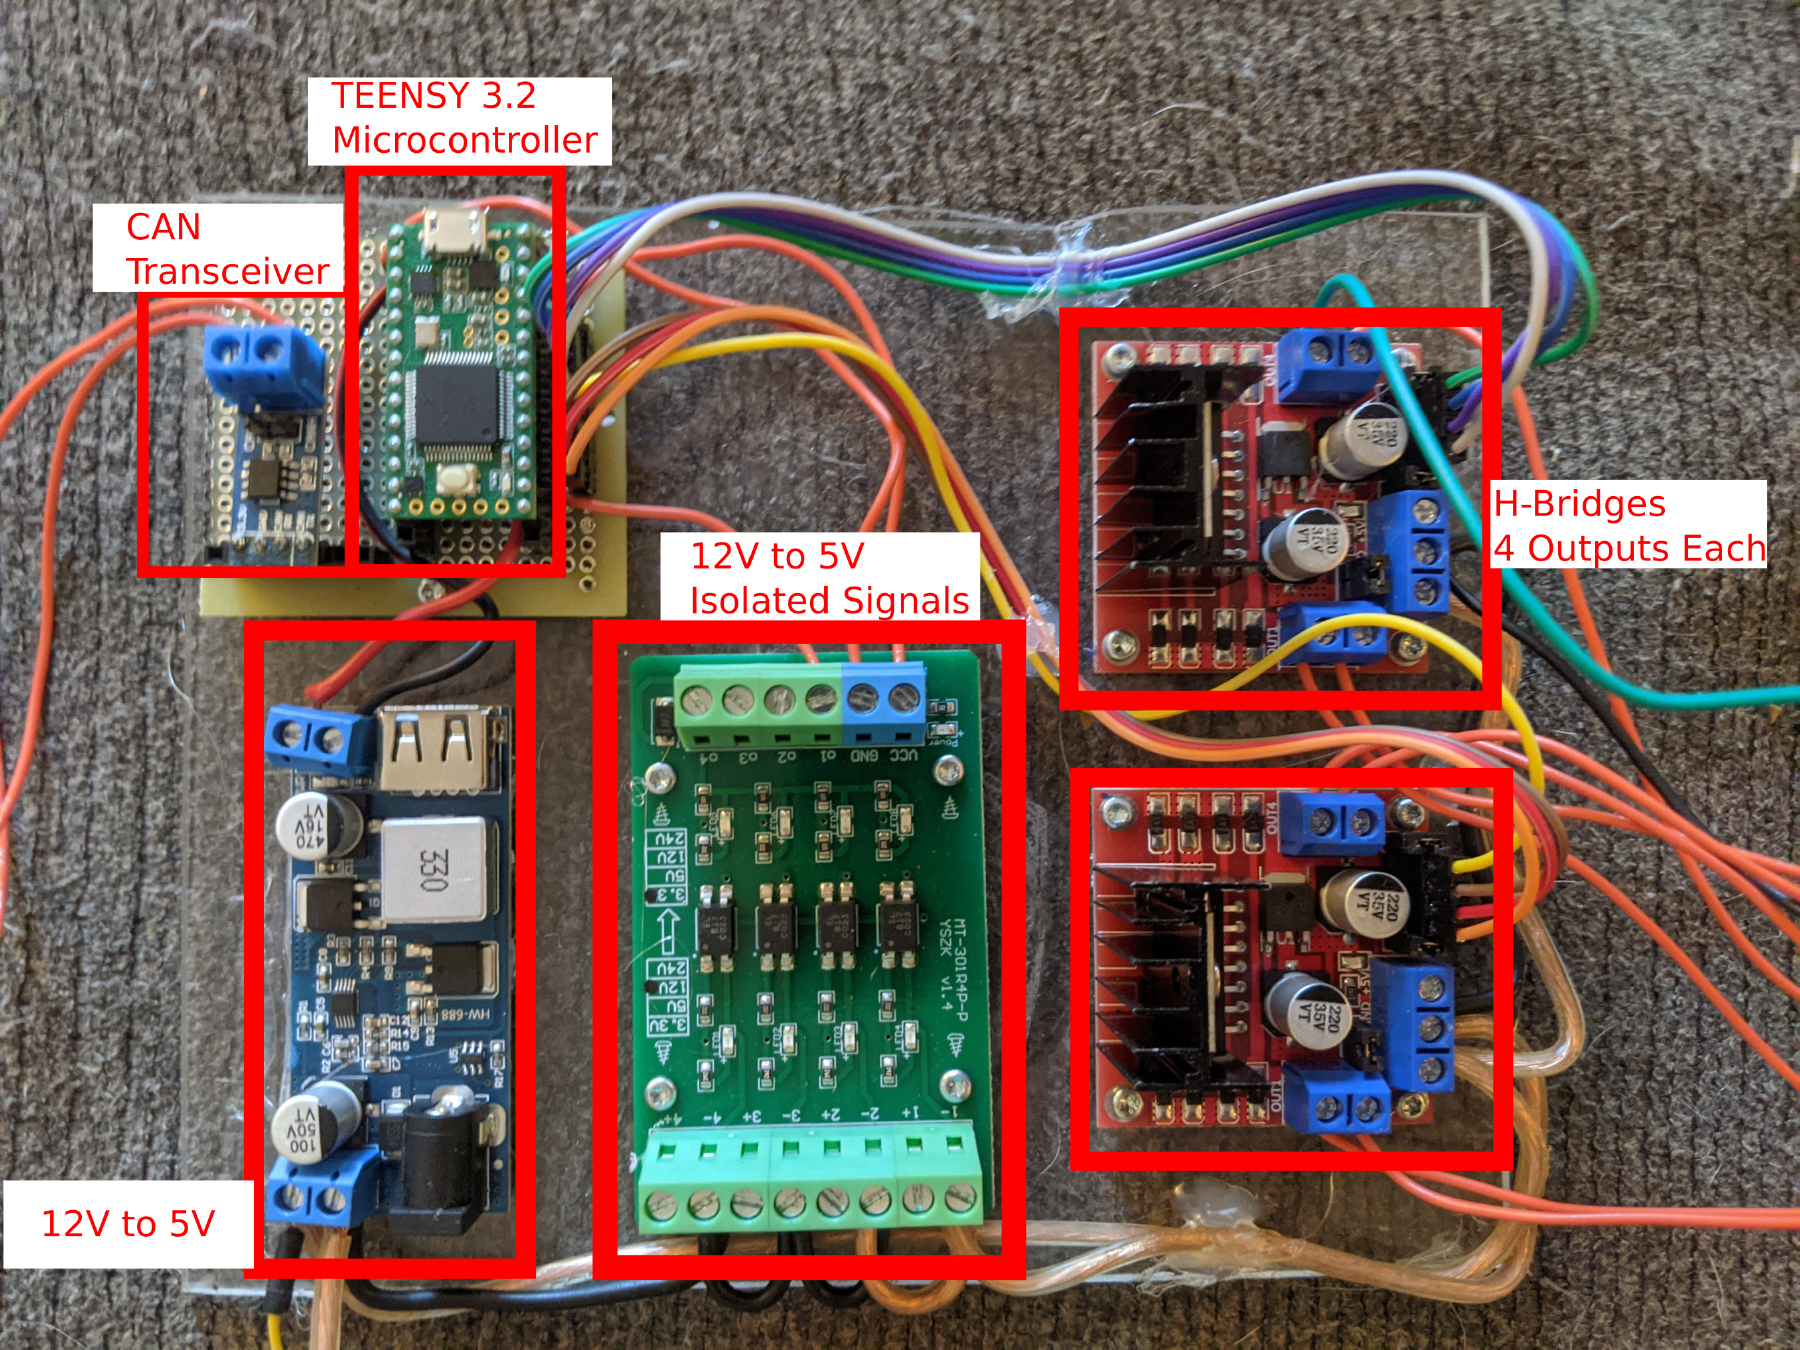
- Custom electronics to integrate old intrsumentation with CAN bus
- Getting the rest of the plumbing including fuel lines and exhaust
As with any good project car, it is never truly complete. But I can say for now it is good!
I’ll enjoy for now, work out any of the remaining bugs, and eventually… rust repair.
